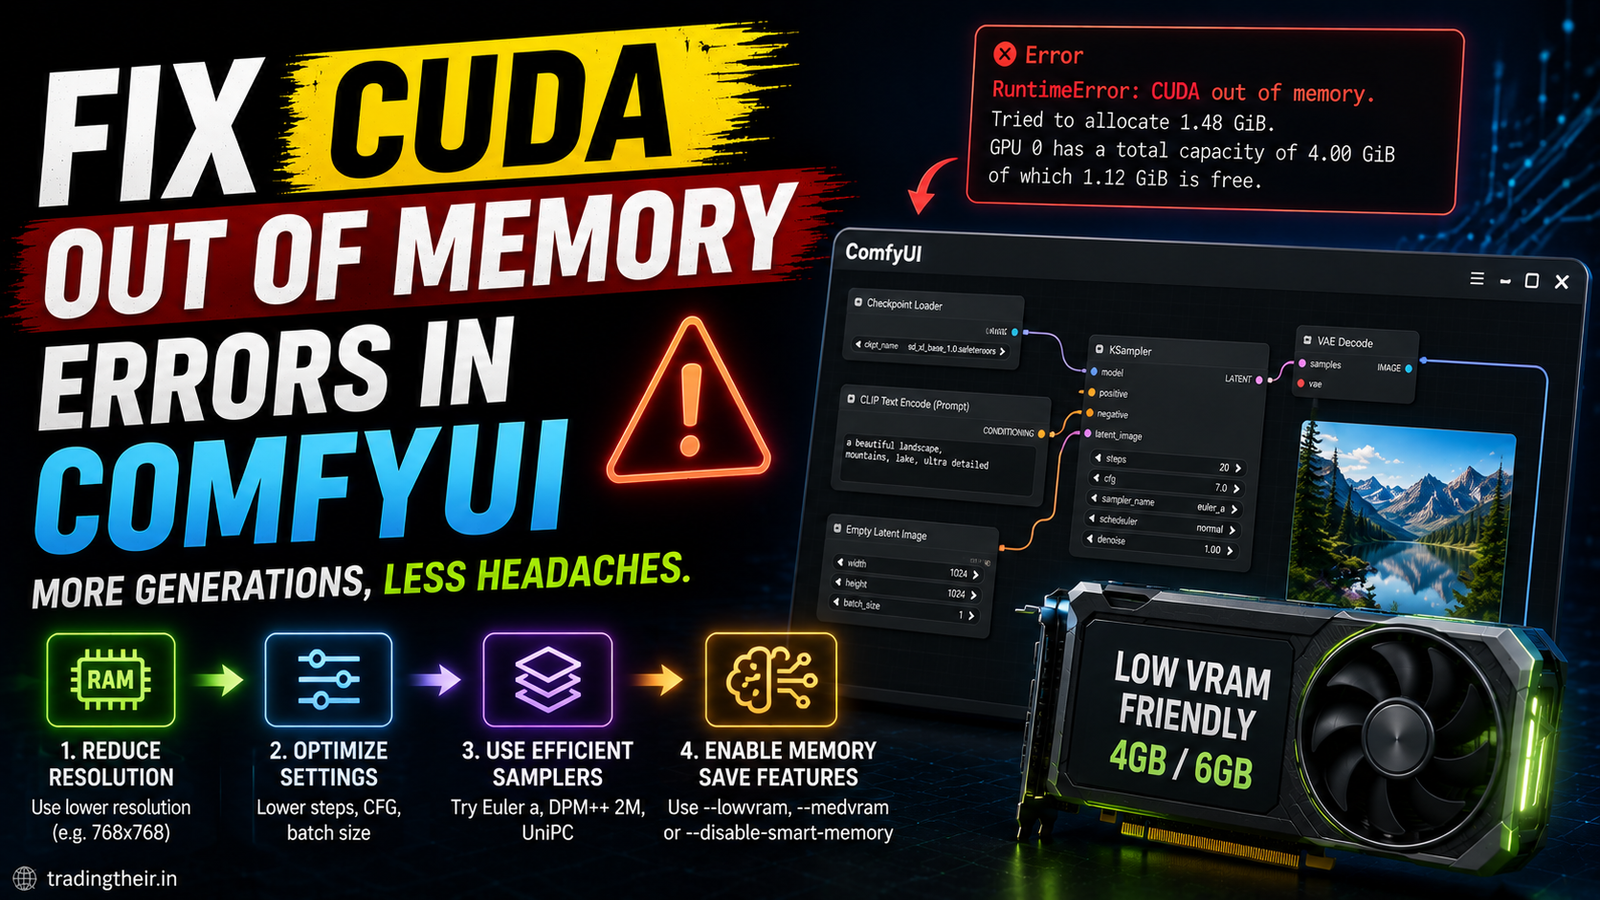
ComfyUI is an incredibly powerful tool for local AI generation. The node-based interface offers unmatched control over your visual workflows. However, this extreme flexibility comes with a steep learning curve. It also brings specific technical challenges. The most frustrating issue is the sudden appearance of a terminal crash. You click the queue prompt button. Suddenly, your system freezes. A massive red error fills your terminal screen. If you want to Fix CUDA Out of Memory Errors instantly, you must change how ComfyUI handles your hardware layers.
This error is incredibly common on consumer-grade graphics cards. It typically happens on GPUs with 4GB, 6GB, or 8GB of VRAM. Video RAM is a finite resource. Deep learning models require instant access to this memory space. When your workflow demands more memory than your card physically possesses, the system stops. It cannot slowly process the remaining data. It simply throws a runtime error and shuts down the generation process immediately.
Fortunately, you do not need to purchase a expensive enterprise graphics card to resolve this issue. Most memory crashes are caused by unoptimized software allocation. By changing your startup configuration, choosing the right models, and managing your nodes, you can achieve stable rendering. This comprehensive roadmap will guide you through the exact process.
Understanding VRAM Saturation in ComfyUI
Before applying technical fixes, you must understand how your graphics card utilizes its memory. ComfyUI divides its workload into distinct phases. Each phase demands a different amount of Video RAM.
First, the software loads your chosen checkpoint model weights. A standard SDXL model can easily occupy 5GB to 6GB of pure memory space. This completely fills a budget card before generation even begins. Second, the system processes your prompt and latent noise text dimensions. Third, the system performs the actual sampling steps. Finally, the VAE decoding phase converts the noise into real viewable pixels.
Identifying the Exact Crash Point
To resolve the issue permanently, you must watch your terminal window closely. The exact moment of the crash reveals the root cause.
Does the system crash immediately after loading a model? If yes, your base model is simply too heavy for your baseline hardware. Does the crash happen halfway through the generation steps? This indicates your batch size or image resolution is set too high for the sampler. Does the crash happen exactly at 99% or 100%? This means your graphics card is failing during the intense VAE pixel conversion phase.
Common VRAM Allocation Triggers
| Crash Phase | Percentage Shown | Primary Culprit |
| Model Loading | 0% to 5% | Checkpoint file is uncompressed or too massive. |
| Sampling Run | 10% to 90% | High generation resolution or large batch count. |
| VAE Decoding | 99% to 100% | Single-pass high-resolution pixel conversion. |
The Ultimate Guide to Fix CUDA Out of Memory Errors
Now that you know why your system is crashing, we can implement targeted software fixes. When you try to Fix CUDA Out of Memory Errors, the first step is checking your startup script. ComfyUI includes built-in memory management flags. These flags change how python allocates resources. They force the backend to stream data instead of dumping everything into the GPU at once.
Using Smart Startup Arguments to Fix CUDA Out of Memory Errors
Open your main ComfyUI installation folder. Locate the executable batch file named run_nvidia_gpu.bat. Right-click on this file and select the “Edit” option. This actions opens the file inside Windows Notepad. You will see the main startup command script.
You must append specific hardware management arguments to this command line. Add the following parameters directly to your execution line:
Plaintext
--gpu-only --lowvram
If you are running a 6GB or 8GB card, you can try this balanced option instead:
Plaintext
--normalvram --smart-memory
The --lowvram flag is incredibly powerful. It splits your AI model weights into tiny mathematical segments. It loads only the active segment into your GPU VRAM. The remaining segments stay inside your regular system RAM. This adjustments slightly decreases your overall generation speeds. However, it provides a bulletproof method to Fix CUDA Out of Memory Errors on limited hardware setups. Save the text document and launch ComfyUI again.
Advanced Node Optimization to Fix CUDA Out of Memory Errors
Sometimes, startup arguments are not enough. Complex nodal networks can still cause massive memory leaks. To Fix CUDA Out of Memory Errors in heavy workflows, you must optimize your active workspace layout.
Avoid linking multiple heavy KSamplers in a single parallel line. Each active sampler caches intermediate tensors inside your VRAM cache. Instead, use a sequential workflow layout. This forces ComfyUI to clear the previous memory block before initiating the next generation segment.
Implementing Tiled VAE Decoding Nodes
If your terminal consistently throws an error at the absolute end of the generation cycle, your VAE settings are wrong. Standard VAE nodes attempt to decode a massive latent image canvas in a single computational pass. This causes a massive, instantaneous memory spike that immediately breaks the pipeline.
Swapping the Standard VAE Decode Node
To resolve this specific crash, enter your ComfyUI workspace grid. Locate your existing VAE Decode node. Right-click on it and select “Remove”.
Now, right-click on an empty space on your grid canvas. Navigate to the Add Node -> latent -> VAE Decode (Tiled) option. Select it to place the new node on your canvas.
Connecting the Tiled Framework
Connect the latent output of your KSampler directly into the latent input of the new Tiled VAE node. Link your model’s VAE output to the VAE input slot.
The Tiled VAE node divides your final image into tiny, isolated squares. It decodes these squares individually. Then, it seamlessly stitches them back together. This clever process bypasses the VRAM capacity limit completely. It allows you to output massive images safely.
Swapping Checkpoints for Quantized Formats
The base models you download from the internet heavily influence your baseline memory consumption. Standard Stable Diffusion checkpoints use 16-bit floating-point math (FP16). These files are highly unoptimized for budget graphics cards.
Switching to Compact FP8 Checkpoints
You should actively replace your massive models with quantized alternatives. Search for the “FP8” or “Pruned” versions of your preferred models on Civitai.
These compressed models use an 8-bit mathematical format. They reduce the base file size by up to fifty percent. Loading an FP8 model frees up gigabytes of precious VRAM. This extra space can now be utilized by your sampler nodes, accelerating your generation speeds.
The Impact of Quantization on Image Quality
Many creators fear that quantization ruins the final output. This is a common misconception. Extensive community testing proves that FP8 models maintain roughly 98% of the original visual data. The tiny loss in micro-details is virtually invisible to the human eye. However, the performance gains on budget machines are massive.
Modifying Windows Virtual Memory Settings
When ComfyUI shifts excess data out of your VRAM, it utilizes your system RAM. If your system RAM also maxes out, Windows relies on a temporary backup file on your storage drive. This file is called the Pagefile. If it is too small, your AI software will crash instantly.
Expanding the System Pagefile Manually
Press your Windows key. Type “View advanced system settings” into the search bar and press enter. Click the “Settings” button located inside the Performance section. Navigate directly to the next “Advanced” tab. Click the “Change” button under the Virtual Memory header.
Uncheck the automatic management box. Select your fastest solid-state drive (SSD). Click the “Custom size” option. Set both the Initial and Maximum size variables to exactly 32768. This action allocates 32GB of permanent virtual memory as a safety net for your AI tools.
Purging the Python Cache Variables
ComfyUI sometimes holds onto old image data from previous generation runs. This fills up your hardware over time. You can clear this hidden cache manually without restarting the entire server.
Hold down your keyboard’s Shift key. While holding it, click the standard “Refresh” button on your ComfyUI control menu. This forces the python garbage collection script to clear stale VRAM variables instantly.
Maintaining a Clean Hardware Workspace
To ensure long-term system stability, you must adopt strict computing habits. Always close resource-heavy background applications before running an AI generation script. Web browsers like Google Chrome or Microsoft Edge are notorious memory hogs. They can easily steal over 1GB of VRAM if you leave hardware acceleration enabled in their settings.
Additionally, avoid generating massive resolutions natively in the text-to-image phase. Always output a smaller base composition first, such as 512×512 pixels. Once you achieve a clean composition, pass the image through an upscale workflow using a dedicated latent upscale node. This multi-stage approach keeps your memory footprint low while delivering crisp, high-resolution results.
It is highly possible to Fix CUDA Out of Memory Errors without upgrading your physical PC hardware. By implementing lightweight startup flags, swapping to tiled decoding nodes, utilizing quantized FP8 models, and expanding your system pagefile parameters, you can run advanced, complex ComfyUI networks reliably on almost any consumer-grade graphics card.