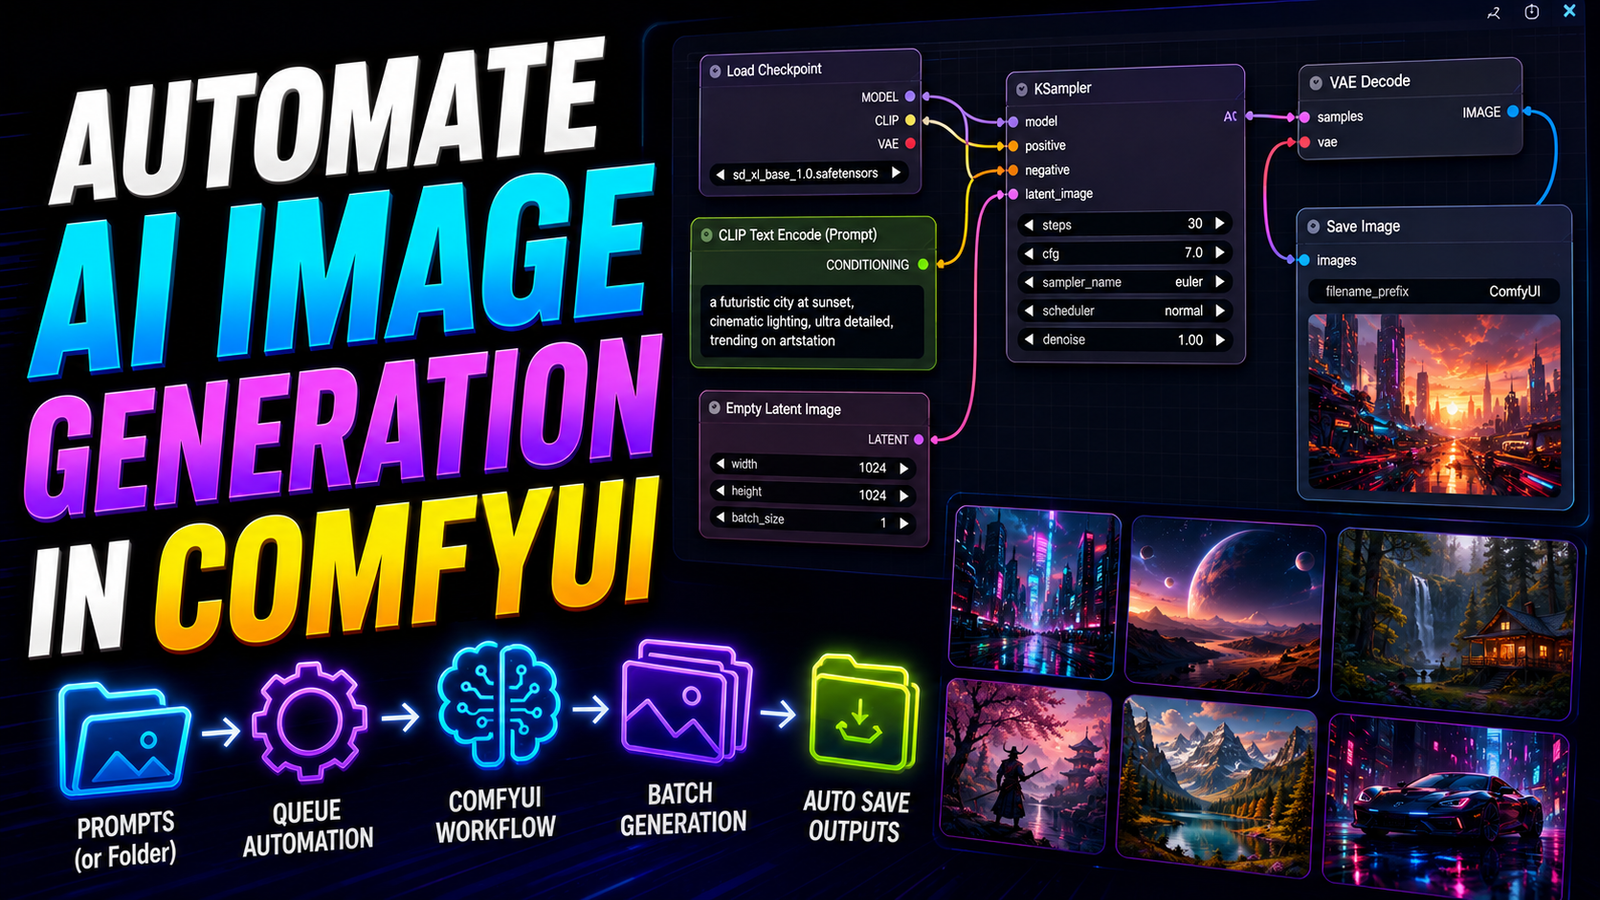
Generating digital art manually is incredibly time-consuming. You type a prompt, click the queue button, and wait patiently. You inspect the final image carefully. If the image is flawed, you repeat the entire tedious cycle again. This manual process is fine for casual hobbyists. However, it is completely unacceptable for professional digital agencies. When a client needs fifty unique dashboard variations, manual clicking destroys your productivity. You must learn how to automate AI image generation in ComfyUI.
ComfyUI is not just a standard visual interface. It is a highly advanced, node-based mathematical backend. It features a powerful, hidden Application Programming Interface (API). This hidden API allows external scripts to control the generation engine directly. You can command your graphics card using simple Python code. You can generate thousands of images while you sleep. This comprehensive guide reveals the exact automation roadmap. We will build a highly efficient, headless rendering farm on your local machine.
Why You Must Automate AI Image Generation in ComfyUI
Freelance web designers often face massive creative blocks. They need dozens of variations to find the perfect visual aesthetic. Manual generation limits your creative exploration severely. You only generate a few options because you get tired of waiting.
Automation removes human fatigue from the equation completely. You can write a script containing one hundred different color palettes. The script feeds these palettes into ComfyUI sequentially. Your local RTX hardware renders every single variation autonomously. Furthermore, automation maximizes your hardware investment. Your computer should not sit idle while you sleep. It should render massive digital asset libraries overnight. When you wake up, you will have a folder full of pristine, production-ready web graphics.
Enabling Developer Options in Your Workspace
Before you write any code, you must unlock the hidden developer settings. The standard ComfyUI web interface hides these advanced tools by default. Open your active web browser and launch your local ComfyUI server.
Look at the main floating control panel. Click the small gear icon to open the global settings menu. Scroll down and check the box labeled “Enable Dev mode Options”. A brand new button will instantly appear on your control panel. This new button is labeled “Save (API Format)”. This specific button is the golden key to your automation pipeline.
Understanding the ComfyUI API JSON Format
When you click the standard “Save” button, ComfyUI generates a visual JSON file. This file records the colors, positions, and group boxes of your nodes. External programming scripts do not care about visual node colors. They only care about the raw mathematical routing.
When you click the new “Save (API Format)” button, the software strips away the visual data. It downloads a highly streamlined text file. Open this new file in a code editor like VS Code. You will notice that the node names are replaced with simple numerical IDs. Your standard KSampler might simply be labeled as node “3”. Your positive CLIP Text Encode might be labeled as node “6”. You must identify these specific numbers to inject your dynamic prompts successfully.
Setting Up Your Python Programming Environment
You need a basic programming environment to send commands to the API. We will use Python because it is incredibly readable and widely supported. You already have Python installed to run ComfyUI itself.
Open your system command prompt terminal. You must install the standard requests library. Type pip install requests and press enter. This lightweight library allows your Python script to communicate with local web ports smoothly. Create a new folder on your desktop called ComfyUI_Automation. Inside this folder, create a blank text file named auto_render.py.
Building the Basic Python Execution Script
Open your new auto_render.py file in your code editor. You must write a script that sends your API JSON data to the local server.
First, import the necessary programming libraries. Type import json and import requests at the top of the file. Next, define your local server address perfectly. The default ComfyUI port is almost always [http://127.0.0.1:8188/prompt](http://127.0.0.1:8188/prompt).
You must load your exported API JSON file into the script. Copy your downloaded API file into the same folder as your Python script. Rename it to workflow.json for simplicity. Write a simple Python function to open and read this specific text file. This loads the core mathematical blueprint directly into your system memory.
Injecting Dynamic Prompts into the Payload
Running the exact same JSON file repeatedly is completely useless. You will just generate the exact same image forever. To automate AI image generation in ComfyUI effectively, you must modify the data dynamically. You must change the text prompt variable before sending the payload to the server.
Look inside your workflow.json file carefully. Locate the exact node ID that holds your positive text prompt. Let us assume the node ID is “6”. Inside your Python script, you can target this exact node directly. You write a line of code like this: prompt_data["6"]["inputs"]["text"] = "A futuristic glowing web dashboard, neon blue".
When the script executes, it overwrites the original text prompt instantly. It sends the newly modified instructions directly to the rendering engine. This simple trick unlocks infinite dynamic variations.
Automating Variations with Python Lists
You can now automate multiple different text concepts sequentially. You do not need to type each modification manually. You can use standard Python lists to cycle through massive design variations automatically.
Create a text list containing ten different color palettes. For example: ["neon blue", "crimson red", "forest green", "cyberpunk purple"]. Write a simple for loop in your Python script. The loop iterates through this color list sequentially. Inside the loop, it injects the new color into the prompt payload. Then, it sends the payload to the server port.
The script will trigger four separate image generations instantly. ComfyUI receives the commands and queues them up perfectly in its internal backend. You can queue hundreds of complex rendering jobs in less than a single second.
Reading Prompts from External CSV Files
Typing prompts directly into a Python script becomes messy over time. Professional developers separate their data from their execution logic. You should store your massive prompt libraries in a clean CSV spreadsheet.
Create a simple spreadsheet using Microsoft Excel or Google Sheets. Put your subjects in the first column and your lighting styles in the second column. Export this document as a .csv file.
Modify your Python script to use the built-in csv library. The script reads the spreadsheet row by row. It constructs a highly detailed prompt string dynamically by combining the columns. It passes this master string into the JSON payload. This professional method allows non-technical clients to write prompt variations in a spreadsheet. You simply run the script to render their specific ideas automatically.
Managing the Mathematical Random Seed
If you send the exact same prompt ten times, you get ten identical images. The engine uses a static mathematical noise seed by default. You must randomize this seed to generate unique visual compositions.
Locate the KSampler node ID inside your API JSON file. Let us assume the KSampler is node “3”. Look for the seed input variable inside that specific node block.
In your Python script, import the random library. Generate a massive random integer using random.randint(1, 9999999999). Inject this new random integer directly into the KSampler payload before every single API request.
prompt_data["3"]["inputs"]["seed"] = new_random_seed.
This guarantees a completely unique mathematical noise pattern for every single automated rendering pass.
Dealing with Hardware VRAM Bottlenecks
Automation stresses your graphics card significantly. When you render images manually, the card gets a few seconds to rest between clicks. When you automate, the card runs at maximum capacity continuously. Your RTX 4050 has a strict 6GB VRAM limit. You must manage this memory carefully to prevent fatal terminal crashes during long overnight runs.
Never use massive batch sizes inside the ComfyUI nodes during automation. Setting the empty latent batch size to 20 will crash your computer instantly. Instead, keep the node batch size strictly at 1. Let your Python loop handle the repetition.
Sending 20 individual API requests is infinitely safer than sending one massive batch request. The software renders one image, flushes the VRAM cleanly, and starts the next image fresh. This sequential processing method guarantees ultimate system stability for budget hardware setups.
Dynamic File Naming and Output Routing
By default, ComfyUI saves all automated images into a massive, messy output folder. It names them with confusing, random numerical strings. Finding a specific generated layout the next morning is highly frustrating. You must automate your file naming conventions natively.
Locate the Save Image node ID in your API JSON file. You can modify the filename_prefix variable dynamically using your Python script. Change the prefix to match the exact text prompt you just generated.
For example, set the prefix to Dashboard_NeonBlue_. The software will save the image specifically as Dashboard_NeonBlue_0001.png. This brilliant trick keeps your massive automated asset library perfectly organized. You can find exactly what you need in seconds without opening every single image manually.
Creating the Ultimate Overnight Render Farm
You now possess all the required technical components. You have a dynamic Python script. You have a spreadsheet full of brilliant web design prompts. You have random seed generation and clean file naming rules. You are ready to launch your overnight factory.
Open your ComfyUI server terminal normally. Open a second system terminal explicitly for your Python script. Execute your auto_render.py file. Watch the ComfyUI terminal carefully. You will see the API payloads arriving instantly. The rendering progress bar will trigger automatically.
You can now turn off your computer monitor completely. Go to sleep knowing your RTX 4050 is working flawlessly. When you wake up, your output folder will contain hundreds of premium, high-resolution digital mockups. To automate AI image generation in ComfyUI is to unlock true digital scalability. You completely bypass manual labor and maximize your creative output exponentially.