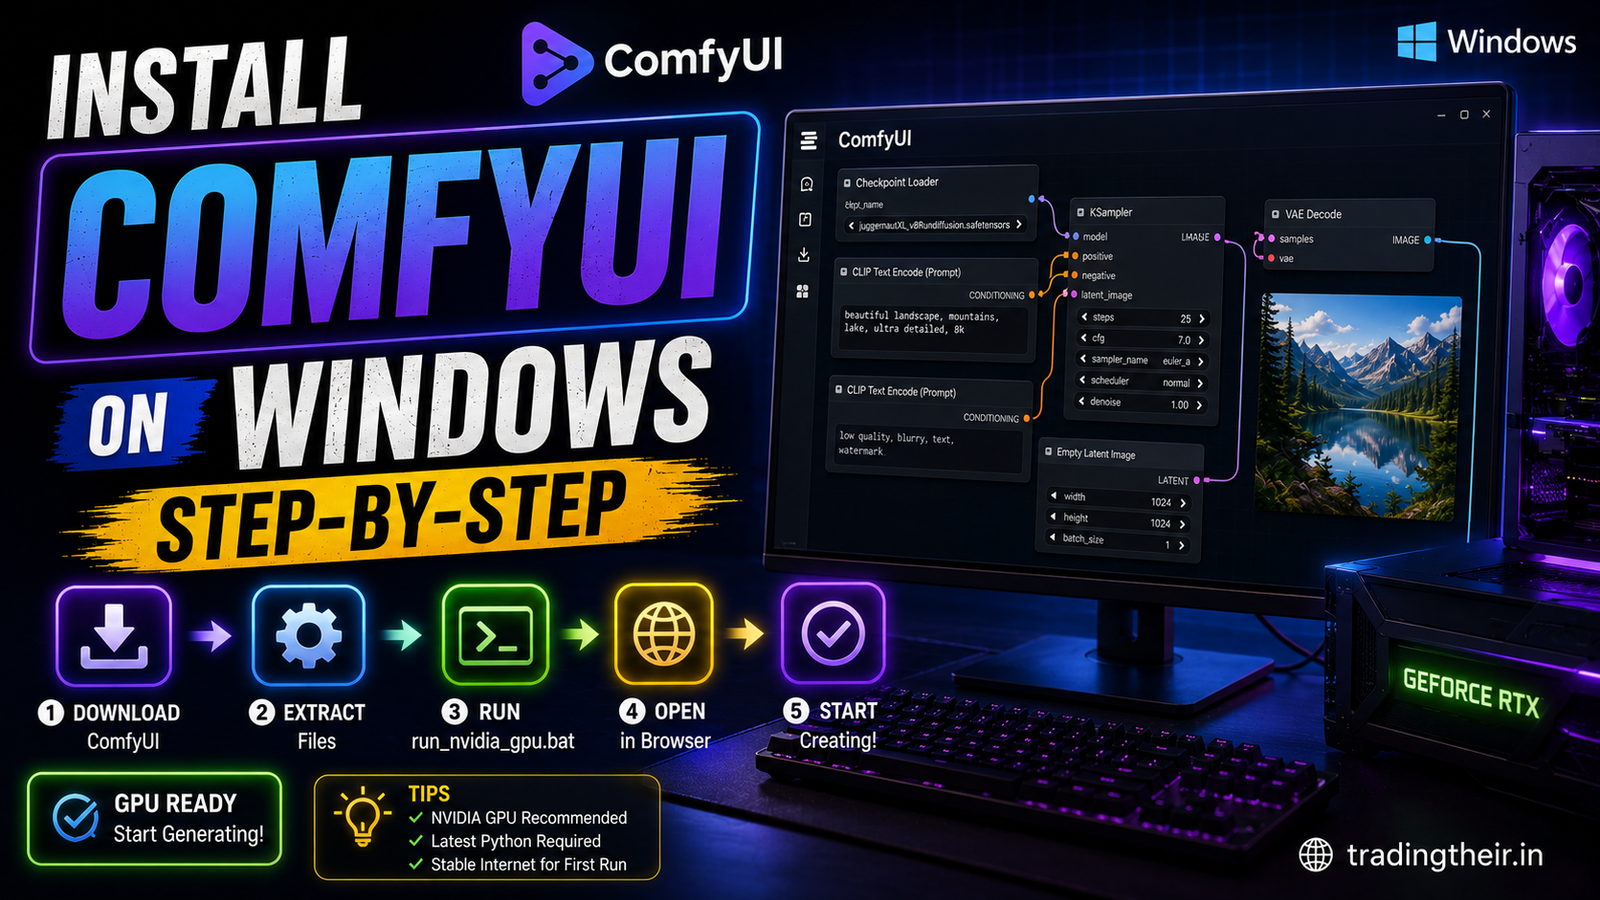
The world of local artificial intelligence generation is evolving incredibly fast. The days of using basic text boxes are gone. Professional creators now use complex, node-based visual graphs. If you want maximum creative control over your workflow, you need the right tools. Learning to install ComfyUI on Windows is the best decision you can make today. It is currently the dominant frontend interface for serious AI designers.
ComfyUI allows you to wire every single step of the generation process manually. You connect the text encoder, the sampler, and the VAE directly on a visual grid. However, this immense flexibility can look very intimidating to beginners. Many people struggle with the initial software setup process. They worry about breaking their computer’s internal python environment permanently.
Fortunately, the core developers have created highly streamlined installation methods. You do not need to be a professional software engineer to get this running perfectly. This comprehensive, highly detailed roadmap will guide you through the absolute best methods to get this powerful software working locally on your personal machine.
Why You Should install ComfyUI on Windows
Standard graphical web interfaces like Automatic1111 are fantastic for beginners. They offer a very simple, straightforward user experience. However, they hide the underlying generation mechanics behind restrictive dropdown menus and static sliders.
When you install ComfyUI on Windows, you unlock absolute structural freedom. You can branch your creative workflows endlessly. You can merge different text prompts using highly specific mathematical weights. You can easily chain multiple samplers together to refine a single image perfectly before outputting the final file.
Furthermore, this specific software is incredibly optimized for budget consumer hardware. It manages VRAM significantly better than competing web interfaces. It loads exactly what it needs into the graphics card, exactly when it needs it. If you have an older 6GB or 8GB graphics card, this interface aggressively prevents constant out-of-memory terminal crashes.
The Speed of Open Source Innovation
Another massive advantage is immediate community update compatibility. When researchers release a brand new AI model architecture, standard interfaces often take weeks to update their underlying code. ComfyUI natively supports new model architectures almost on day one. By using a highly modular node system, independent developers can instantly create custom nodes for new generation technologies.
The Easiest Way to install ComfyUI on Windows
The absolute safest and most reliable method for beginners is using the standalone portable package. This version is explicitly designed for everyday consumer operating systems.
When you use the portable package to install ComfyUI on Windows, you completely avoid global environment conflicts. The download includes a fully embedded, strictly isolated Python installation. It keeps its mathematical dependencies completely separated from your other AI tools. If you accidentally break the software, you can simply delete the folder and start over safely without formatting your PC.
Step 1: Downloading the Standalone Package
Open your preferred web browser and navigate directly to the official ComfyUI GitHub repository. Look for the “Releases” page section located on the right side of the screen.
Click on the latest available release tag. Scroll down to the attached assets section. You will see a large compressed file named ComfyUI_windows_portable. Download this specific 7z archive file directly to your local computer.
Step 2: Extracting the Archive Safely
You must use a dedicated extraction tool like 7-Zip to unpack this massive file. Do not use the default Windows unzipping tool, as it frequently corrupts large python archives.
Extract the contents into a very shallow directory path. Create a folder named C:\AI\ and place the extracted files directly inside it. Avoid installing the software deep inside your “Program Files” or hidden “Downloads” folders. Excessively long directory paths can cause fatal write-access errors during future software updates.
First Launch After You install ComfyUI on Windows
Once the extraction process finishes completely, navigate inside the newly created ComfyUI_windows_portable folder. You will see several batch execution files ready to use.
Your next action depends entirely on your specific hardware layout. If you own a modern Nvidia graphics card, double-click the file named run_nvidia_gpu.bat. If you are running on an older system without a dedicated GPU, select the run_cpu.bat file instead. Keep in mind that CPU generation is incredibly slow.
The Initial Terminal Boot Sequence
A black terminal window will appear on your desktop immediately. Do not close this window under any circumstances. This terminal is the actual backend engine running the complex mathematical calculations.
The software will automatically open your default web browser. It will immediately navigate to a local network address, usually [http://127.0.0.1:8188](http://127.0.0.1:8188). You will be greeted by the default node grid. Congratulations, you have successfully managed to install ComfyUI on Windows. The core AI engine is now fully operational and ready to work.
Downloading Baseline AI Checkpoints
The interface is completely useless without a functioning neural brain. You must download an actual artificial intelligence model to generate pictures.
Navigate to popular model repositories like HuggingFace or Civitai. Download a standard checkpoint file, such as sd_xl_base_1.0.safetensors. Once the massive file finishes downloading, you must place it in the exact correct directory. Move the file into your ComfyUI\models\checkpoints folder.
Go back to your active browser window. Click the “Refresh” button on the floating command panel. Your newly downloaded model will now appear in the Load Checkpoint node dropdown menu.
How to install ComfyUI on Windows Manually
The portable version is absolutely perfect for beginners. However, advanced users might heavily prefer a manual Git installation. This technical method provides much finer control over exact library dependency versions.
If you decide to install ComfyUI on Windows manually, you must prepare your operating system first. You need Python 3.10.6 installed and properly added to your global PATH variables. You also absolutely need Git for Windows installed on your machine.
Cloning the Official Source Repository
Open your Windows Command Prompt application with full administrative privileges. Navigate to your root C drive using the terminal. Run this exact cloning command:
Bash
git clone https://github.com/comfyanonymous/ComfyUI.git
This specific command copies the raw source code directly to your local storage drive.
Building the Virtual Python Environment
Move inside the newly created ComfyUI directory. You must create an isolated virtual environment to protect your underlying system libraries. Run these exact terminal commands:
Bash
python -m venv venv
.\venv\Scripts\activate
Your terminal command line will now display a (venv) tag. This tag indicates that your isolated workspace is currently active and secure.
Installing PyTorch Math Dependencies
Next, you must download the massive mathematical libraries required for generation. For a standard Nvidia hardware setup, run this specific installation command:
Bash
pip install torch torchvision torchaudio --index-url https://download.pytorch.org/whl/cu121
Finally, install the specific UI requirements by running pip install -r requirements.txt. You can now launch the software manually by typing python main.py into your active terminal.
Adding Custom Extensions to install ComfyUI on Windows Like a Pro
The base software is incredibly capable on its own. However, the true power of this platform lies entirely in its massive community extension ecosystem. There are currently over five thousand custom nodes available for download.
When beginners install ComfyUI on Windows, they often struggle to manage these external extensions manually. Downloading individual repositories from GitHub is highly tedious and incredibly prone to formatting errors. You need a dedicated package manager to handle this entire ecosystem smoothly.
Installing the External ComfyUI Manager
The ComfyUI Manager is an essential third-party workflow extension. It provides a beautiful, clean graphical interface for installing, updating, and removing custom nodes directly inside your web browser.
To install this manager tool, you must use your command terminal. If you used the portable installation method, navigate to the ComfyUI_windows_portable\ComfyUI\custom_nodes folder.
Open a fresh command prompt inside this exact folder location. Run this specific cloning command:
Bash
git clone https://github.com/ltdrdata/ComfyUI-Manager.git
Restart your entire ComfyUI backend terminal server. When the browser window reloads successfully, you will see a brand new “Manager” button located on your main floating control panel.
Resolving Missing Workflow Node Errors
When you download complex, advanced workflows from the internet and drag them into your workspace, you will often see massive red warning boxes. This visual warning means your system is missing specific custom nodes required to run the pipeline.
Simply click the new Manager button. Select the option clearly labeled “Install Missing Custom Nodes”. The manager tool will automatically identify, download, and cleanly configure every single missing component instantly.
Updating Your ComfyUI Local Software Safely
Artificial intelligence technology moves incredibly fast. The developers release critical performance updates and important bug fixes weekly. You must keep your local software fully updated to maintain strict compatibility with new generation models.
If you followed this specific guide to install ComfyUI on Windows via the portable package, updating is completely automated. Open your main ComfyUI_windows_portable folder. Locate the specific subfolder named update.
Inside this folder, you will find two specific batch files. Run the executable file named update_comfyui.bat to update the core graphical interface files. Run the file named update_comfyui_and_python_dependencies.bat to update the underlying PyTorch mathematical libraries. Always ensure your backend server is completely closed before running these update scripts to actively prevent file corruption.
You have now successfully built a highly optimized, fully professional local AI workspace. Enjoy the incredible creative freedom of offline, completely uncensored image generation on your own hardware!