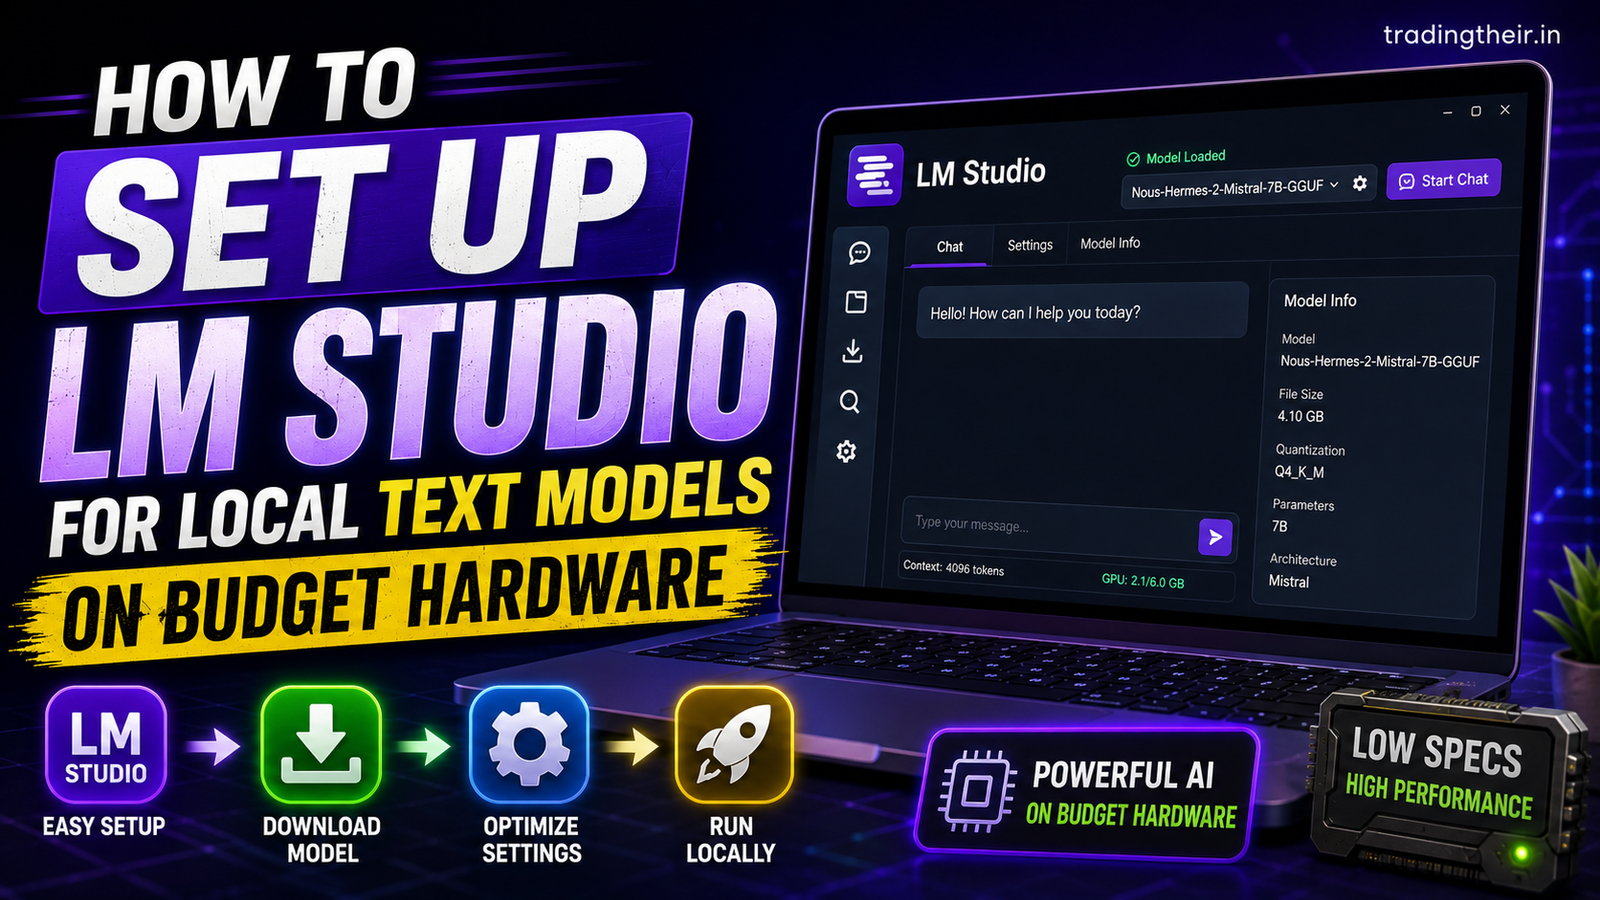
Running Large Language Models (LLMs) entirely offline used to be an impossible dream for anyone without a massive, dedicated server rack or a high-end enterprise graphics card. When I first looked into local text generation, I was convinced my modest mid-range desktop setup would either crawl at one token per second or completely crash my operating system. As a web designer who relies heavily on rapid iteration, I was actively using paid cloud APIs for drafting website copy, generating CSS snippets, and brainstorming UI layouts. However, those API costs quickly snowballed into a massive recurring expense for my daily workflows, pushing me to find a localized, free alternative.
Thankfully, the open-source community has fundamentally changed the landscape of local AI over the past year. Because of massive breakthroughs in model compression and specialized runtime environments, you no longer need an Nvidia A100 to run a highly intelligent AI assistant on your own machine. If you want to set up LM Studio, you are in the exact right place to transform your budget hardware into a completely private, offline AI powerhouse.
The undisputed king of this new budget-friendly era is LM Studio. Paired with quantized GGUF models, this application allows you to run powerful text generators locally without spending a single dime on subscription fees. Whether you need a localized assistant for writing code, drafting email copy, or analyzing local documents without compromising your client’s privacy, this software is the ultimate solution.
After spending weeks testing multiple configurations, intentionally breaking my environment, and mapping out the hardware limits on various mid-range systems, I have documented the absolute most efficient way to maximize token generation speeds. Here is my highly detailed, step-by-step roadmap for anyone looking to run AI smoothly on consumer-grade machines.
Why You Should set up LM Studio Locally
Before we dive into the actual installation process and software configuration, it is incredibly important to understand exactly how local LLMs utilize your system resources. If you are coming from the world of AI image generation (using interfaces like ComfyUI or Automatic1111), you might be accustomed to the idea that dedicated Video RAM (VRAM) is the only thing that matters. In image generation workflows, if a model doesn’t mathematically fit into your GPU’s VRAM, the process fails instantly with a fatal CUDA error.
Text generation models operate on a fundamentally different, much more forgiving backend architecture. The underlying engine that runs these text models can seamlessly split the computational workload between your regular system RAM (driven by your CPU) and your video RAM (driven by your GPU).
This split architecture means that even if you possess a budget graphics card, you can still run massive 8-Billion parameter models smoothly. I currently run my primary workflow on an Intel i7 processor paired with an RTX 4050 that has a strict 6GB VRAM limit. In a setup like this, the GPU processes the model layers it can physically hold, while the highly capable i7 processor dynamically takes over the rest of the mathematical calculations using standard system memory. While CPU processing is naturally slower than using dedicated Tensor cores, this hybrid combination ensures that you avoid the dreaded “Out of Memory” crashes completely. Understanding this hardware synergy is absolutely crucial before you set up LM Studio on a budget machine.
The Magic of GGUF Models for Budget Hardware
Before downloading any software, you need to understand the magic of the GGUF file format. GGUF (GPT-Generated Unified Format) is a file structure that allows AI models to undergo a mathematical process called “quantization.”
In simple terms, quantization compresses the massive neural network weights of a localized AI model. A standard, uncompressed 8-Billion parameter model (saved in original 16-bit precision) might require 16GB of pure memory just to load into the interface. By mathematically rounding down those data weights into a highly compressed 4-bit or 8-bit layout, the open-source community shrinks the file size drastically.
This aggressive compression massively lowers the memory footprint while keeping the model’s baseline intelligence remarkably intact. You lose a microscopic fraction of highly nuanced reasoning capability, but you gain the unprecedented ability to run the model natively on a standard consumer desktop or laptop.
Here is a baseline memory breakdown for budget setups:
| Model Parameter Size | Recommended Quantization | Minimum Required Unified RAM | Best Practical Use Cases |
| 1.5B to 3B (e.g., Phi-3, Gemma 2B) | Q4_K_M or Q8_0 | 4GB – 8GB | Ultra-fast responses, basic text summarization, and low-end budget laptops. |
| 7B to 9B (e.g., Llama 3, Mistral) | Q4_K_M | 8GB – 12GB | Coding assistance, complex logic reasoning, web design copy, and blog writing. |
| 12B to 14B (e.g., Command R) | Q3_K_M | 16GB+ | Highly nuanced document context retrieval and deep logic parsing. |
For 90% of users operating on a budget setup, downloading a 7B or 8B model with the specific “Q4_K_M” quantization tag is the absolute perfect balance between raw generation speed and high-level intelligence.
The Complete Roadmap to set up LM Studio
The biggest advantage of utilizing this specific software is its entirely self-contained ecosystem. If you have ever tried to run LLMs locally using pure Python scripts, Anaconda virtual environments, or raw GitHub terminal clones, you know exactly how frustrating dependency management can be. LM Studio handles all backend dependencies automatically under the hood, completely eliminating the need to manually configure Python, Git, or C++ build tools on your operating system. I strongly prefer practical, step-by-step roadmaps over vague theories, so follow these exact instructions to get your environment running perfectly.
Step 1: Downloading and Installing the Application
As you begin your journey, the very first step is acquiring the official standalone installer. Navigate directly to the official LM Studio website and download the executable file tailored for your specific operating system (Windows, Mac, or Linux).
Run the executable file and follow the standard installation prompts. The software installs entirely within its own designated directory, keeping your global system path completely clean and avoiding deep structural conflicts with other developer software you might have installed on your machine. Once the installation finishes, launch the application. You will be immediately greeted by a sleek, dark-mode dashboard that looks remarkably similar to standard cloud-based chat interfaces like ChatGPT. The major, game-changing difference is that absolutely everything you see is running purely on your localized hardware.
Step 2: Searching and Downloading GGUF Files
LM Studio comes equipped with a brilliant built-in HuggingFace repository browser. This means you do not need to navigate messy third-party websites or utilize complex command-line download tools to find your AI models. You can search, evaluate, download, and manage all your files directly inside the graphical interface.
Click on the Search icon (represented by the magnifying glass) located on the left-hand navigation bar. In the search bar at the very top of the screen, type the exact name of the model you want to test. I highly recommend starting with “Meta Llama 3 8B Instruct” or “Mistral 7B Instruct” for web development and design tasks.
The search results will rapidly populate on the left column. Always look for results uploaded by trusted community quantizers (such as ‘TheBloke’ or ‘MaziyarPanahi’). Click on a highly rated result, and the right-hand panel will display a massive list of available files. These are the different quantization levels we discussed earlier.
Scroll through the extensive list until you find the file explicitly tagged with Q4_K_M.gguf. Click the download button next to it. Depending on your home internet speed, downloading a 4GB to 5GB file will take anywhere from a few minutes to half an hour.
Step 3: Configuring GPU Hardware Acceleration
This is the absolute most critical step in the entire roadmap. By default, the software is designed for maximum global compatibility, meaning it might attempt to run the entire downloaded model purely on your CPU. If you leave it on this unoptimized default setting, you will experience agonizingly slow text generation speeds (often dropping below 2 or 3 tokens per second). We need to explicitly tell the program to offload as much computational weight as physically possible to your GPU cores.
Navigate to the AI Chat interface by clicking the speech bubble icon on the left menu panel. At the very top center of the screen, click the dropdown menu and select the GGUF model you just downloaded to load it into active memory.
Look at the right-hand sidebar and carefully expand the “Hardware Settings” tab. Check the box to manually enable GPU Acceleration. Ensure the backend framework is set to CUDA (if you are utilizing an Nvidia graphics card) or the appropriate API for AMD/Apple Silicon architecture.
Locate the “GPU Offload (Layers)” slider or numerical input box. This specific setting dictates exactly how many model layers are pushed to your high-speed Video RAM. If you are running an 8B parameter model on a budget GPU with a 6GB VRAM limit (like my RTX 4050), start by setting this value to exactly 20 layers.
Keep a close eye on your Windows Task Manager (Ctrl+Shift+Esc, then navigate to the Performance tab). If your VRAM has room to spare and the model responds smoothly without stuttering, you can gradually increase this layer number (for example, stepping up to 24 or 28 layers) until your dedicated VRAM is hovering comfortably around 90% utilization. The more layers you successfully offload to the graphics card, the faster your AI assistant will type out its intelligent responses.
Step 4: Optimizing Context Windows and CPU Threads
When users first set up LM Studio, they often ignore the advanced parameters and forget to manage the system’s active memory pool. To prevent your local AI assistant from freezing or aggressively lagging during incredibly long, highly detailed chat sessions, you must manually cap the context parameters. The context window directly determines exactly how much past conversation the AI can “remember” before it runs out of working memory and loses the plot.
Under the same right sidebar, scroll down to the Context Window configuration settings. Modern models boast massive theoretical context windows ranging from 8,000 to 128,000 tokens. However, on budget hardware, expanding the context window exponentially increases your active system RAM consumption. If you set the context to 8,000 on a mid-range 16GB desktop, the system will eventually saturate all available memory and crash the application.
For budget setups, rigidly cap the context window at 2048 or 4096 tokens. This limitation provides plenty of memory for the AI to hold a detailed, multi-step conversation while ensuring your PC’s memory never overflows into hard drive pagefile swapping (which completely destroys generation performance).
Additionally, find the CPU Threads setting in the advanced panel. Set this number to match your physical CPU core count minus two. For instance, my i7 processor has plenty of threads, but reserving two threads specifically for the operating system ensures my desktop remains fully stable and responsive while the AI model executes heavy background operations.
Troubleshooting Errors After You set up LM Studio
Running LLMs locally introduces hardware-level quirks that you simply never see in polished, cloud-hosted interfaces. Even with a perfectly executed roadmap, you might occasionally encounter performance hiccups. Here is exactly how to fix the most common budget hardware issues.
The Model Generates Infinite Gibberish Loops
If your model starts outputting endless repeating characters, spewing random symbols, or abruptly starts talking to itself as a completely different user persona, the underlying problem is not your hardware. The problem is a mismatched Prompt Format.
Every language model is trained on a highly specific conversational template (like ChatML, the Llama 3 Format, or the generic Alpaca format). If you send a message wrapped in the wrong format, the AI gets severely confused and hallucinates. Go to the right sidebar, find the Prompt Format section, and ensure the dropdown matches the exact model architecture you downloaded. The software is generally excellent at auto-detecting this upon load, but manually overriding it to the correct preset fixes 99% of infinite loop errors instantly.
Immediate System Crash Upon Sending a Prompt
If the application freezes completely or abruptly closes to the desktop the exact second you press the enter key, your system is running completely out of unified memory allocations. Your hardware is choking on the layer offload size we configured earlier.
To fix this fatal memory crash, reboot the software, reload your model, and immediately go back to the hardware control panel. Drop the GPU offload count down by 5 to 10 layers. This deliberate reduction forces your regular system RAM (and your CPU) to pick up a much larger chunk of the data block, taking the critical load off your graphics card and stabilizing the generation.
Generation Starts Fast, Then Slows to a Crawl
This specific phenomenon occurs when your system RAM fills up entirely, forcing Windows to start writing the active AI memory to your hard drive (known as SSD paging). Your storage drive, even a fast NVMe SSD, is infinitely slower than your physical RAM, causing the massive speed drop.
To permanently resolve this, you need to be brutal with your background applications. Before launching an offline LLM generation run, close all instances of Google Chrome, design software, or game launchers. A web browser with ten active tabs can easily drain 2GB of background resources, depriving your quantized models of the essential cache blocks required for high-speed token prediction.
Successfully learning to set up LM Studio proves that you do not need thousands of dollars in enterprise server equipment to utilize the absolute cutting edge of artificial intelligence. By understanding quantization, carefully managing your layer offloading, and keeping your context limits highly realistic, you can turn any standard desktop or mid-range laptop into a highly capable, completely private offline AI powerhouse.