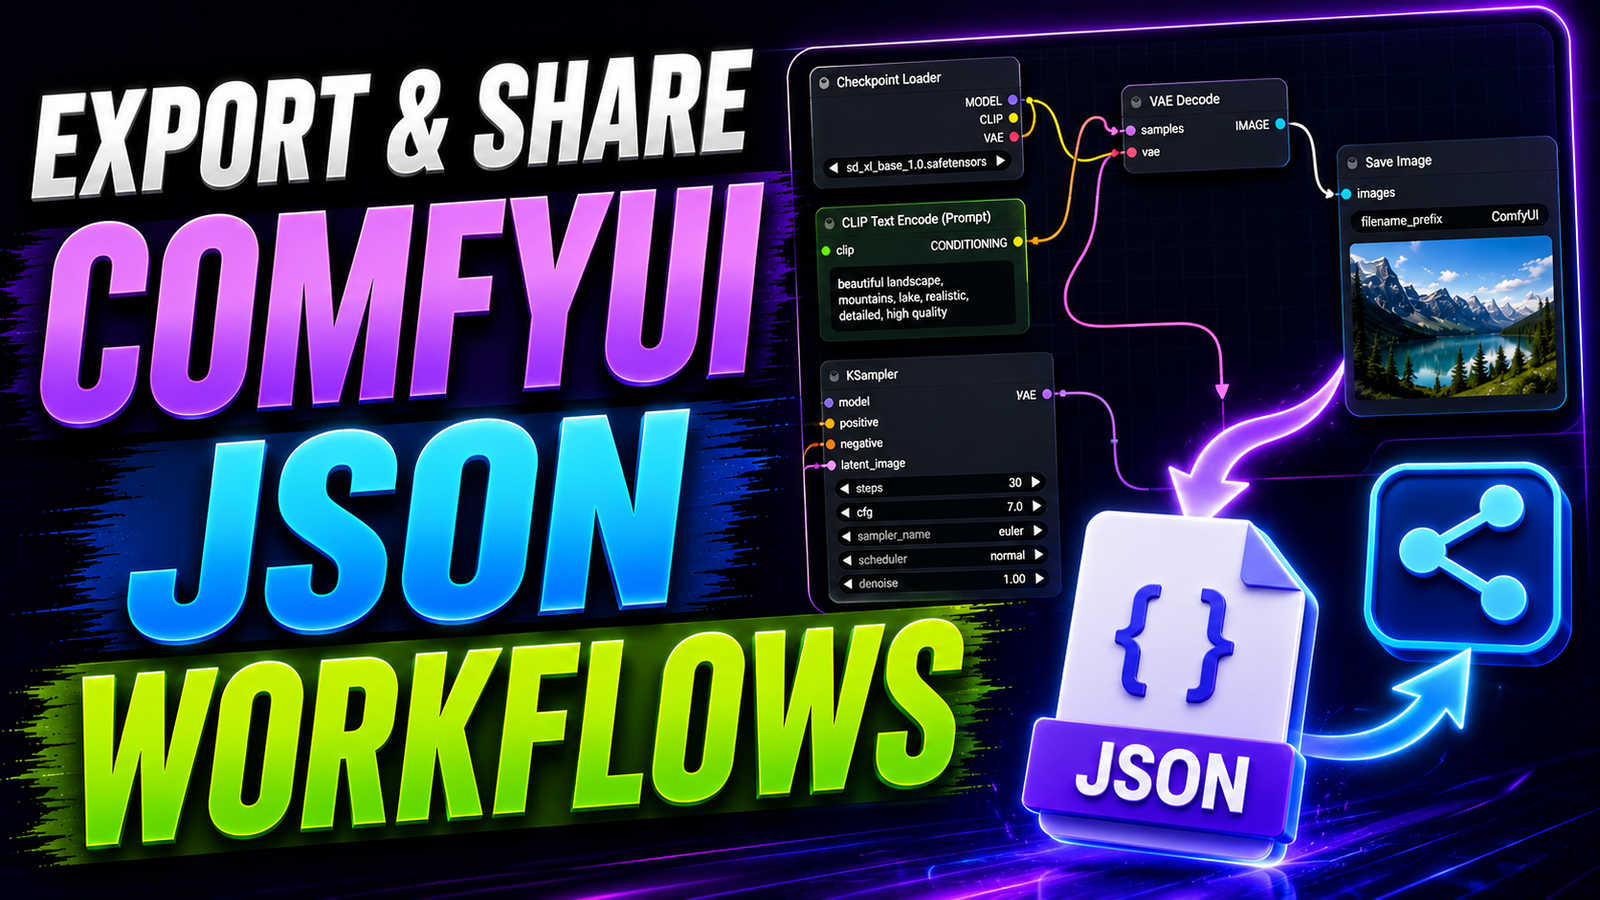
ComfyUI is an incredible platform for artificial intelligence generation. It allows you to build highly complex, custom visual pipelines. However, your brilliant pipelines are useless if you cannot save them. You must know how to save and distribute your work. If you want to export and share ComfyUI JSON workflows, you must understand the underlying file formats.
Sharing your workspace allows for massive community collaboration. You can send your exact web design generation pipeline to a colleague. They can recreate your exact visual style instantly on their machine. You do not have to explain complex node wirings over a chat message.
This comprehensive guide explains the exact methods for saving your graphs. We will cover standard text files, API formats, and embedded images. You will learn exactly how to manage your local digital workspace like a professional. We will also cover how to troubleshoot broken files downloaded from the internet.
Understanding the JSON File Format
ComfyUI operates fundamentally different from standard graphical software. It does not use proprietary, locked project files. Standard software locks you into their specific, expensive ecosystem. ComfyUI relies entirely on the JSON file format.
JSON stands for JavaScript Object Notation. It is a lightweight, highly readable text format. It is universally understood by modern programming languages. When you create a visual node graph, the software writes a hidden text list. It records every single node name and connection wire precisely.
It records the exact numerical values inside your sliders. This tiny text file contains the entire blueprint of your creative thought process. Because JSON is just plain text, it is incredibly safe to share. You can email it, upload it to cloud storage, or paste it in developer forums. You never have to worry about transmitting dangerous executable viruses.
The Standard Method to Export and Share ComfyUI JSON Workflows
Saving a standard graph layout is incredibly straightforward. Look at your main floating control panel. You will usually find this interactive menu on the right side of your screen. Some users prefer moving it to the bottom of the canvas.
Click the large button labeled “Save” or “Save As”. A browser prompt will appear immediately on your display. Name your file something highly descriptive and click confirm. The software downloads a .json file directly to your standard downloads folder.
This standard file preserves absolutely everything on your visual canvas. It saves the physical layout coordinates of your nodes. It remembers if you grouped specific nodes together. It even saves the custom visual colors you applied to different background boxes. This is the absolute best format for sharing with other human creators. It retains all visual organization beautifully.
The Hidden Power of PNG Image Metadata
There is a second, highly popular way to share your pipelines. You do not always need to distribute a raw text file. ComfyUI actually embeds the JSON data directly into your generated images natively.
When you route your final render through a standard “Save Image” node, magic happens. The software writes the entire mathematical blueprint into the PNG file metadata. The image looks completely normal to the human eye. However, it carries a massive secret payload of structural node data.
To use this incredible feature, simply share the original, uncompressed PNG file. When someone drags that image onto their empty ComfyUI canvas, the magic triggers. The software reads the hidden metadata and rebuilds the entire node graph instantly. It is a brilliant way to showcase the final art and the recipe simultaneously.
The Dangers of Image Compression
You must be incredibly careful when sharing embedded images online. Social media platforms absolutely hate massive file sizes. Websites like Twitter, Instagram, or Discord compress uploaded images automatically to save server space.
This brutal digital compression process strips away all hidden metadata instantly. If you download an image from a social media timeline, it will not load. The valuable node data is gone forever. If you want to share embedded images, use cloud storage links exclusively. Send the uncompressed file directly via email to preserve the delicate data.
How to Export the Developer API Format
There is another highly specialized export method available. This method is strictly reserved for advanced users and Python developers. It is explicitly called the API format. You use this when you want to automate generation with external Python scripts.
First, you must enable your hidden developer options. Click the settings gear icon located on your control panel. Check the box explicitly labeled “Enable Dev mode Options”. A brand new button labeled “Save (API Format)” will appear on your menu.
Clicking this new button downloads a heavily stripped-down JSON file. This file removes all visual metadata completely. It deletes node colors, spatial coordinates, and visual group boxes. It only keeps the raw mathematical data required for a backend server to function. Do not share API files with regular visual users, as they load into an ugly, messy pile.
Using the API Format for Automation
The API JSON file replaces visual node names with simple numeric IDs. This structural change makes it incredibly easy for Python scripts to read. You can write a basic script to change the text prompt automatically.
You can automate massive batch generation tasks perfectly overnight. You send the API JSON file directly to the ComfyUI server port. The backend server processes the complex math silently in the background. It is the ultimate method to build custom web applications powered by local AI.
Loading Downloaded Files into Your Workspace
Importing a downloaded file is the easiest step in this entire creative process. You do not need to navigate through complex, messy file menus. ComfyUI supports seamless drag-and-drop functionality natively.
Open your web browser and launch your local backend server. Locate the downloaded JSON file or embedded PNG image on your computer. Click and hold the file with your mouse cursor. Drag it directly over your open browser window.
Release your mouse button to drop the file onto the grid canvas. The software will instantly wipe your current active workspace. It will instantly draw the new, imported node graph perfectly. You are now ready to hit the queue prompt generation button.
Copy and Paste Text Loading
Sometimes advanced creators paste their raw JSON code directly onto a webpage. They use websites like Pastebin to share the raw code blocks. You do not even need to download a physical file in this scenario.
Simply highlight all the raw text code on the public webpage. Press the Ctrl + C keys on your keyboard to copy it. Click anywhere on your blank ComfyUI canvas grid. Press Ctrl + V to paste the text directly into the visual interface. The software instantly reads the clipboard text and builds the visual nodes flawlessly.
Troubleshooting the Dreaded Red Box Errors
Loading a file from the internet rarely works perfectly on the first try. You drag the JSON file onto your empty canvas. Suddenly, bright red boxes appear everywhere. Do not panic when you see these aggressive visual errors.
These red boxes simply mean you are missing a critical community extension. The original author used a custom node that you do not have installed locally. ComfyUI does not know how to draw the missing mathematical block.
To fix this instantly, you must open your ComfyUI Manager tool. Click the dedicated button labeled “Install Missing Custom Nodes”. The manager will automatically scan the red boxes across your canvas. It will download the exact missing plugins from the internet. Restart your server, and the red boxes will vanish completely.
Missing Checkpoints and Model Files
Sometimes, the overall node structure imports perfectly, but the pipeline still fails. This highly frustrating issue happens when you lack specific artificial intelligence models. The original creator used a checkpoint that you do not possess. A downloaded JSON file does not contain the actual gigabyte-sized model weights. It only contains the text string name of the model.
If you see a bright red outline around a “Load Checkpoint” node, you must intervene. The node cannot find the requested .safetensors file on your local hard drive.
You must carefully read the filename displayed inside the red warning box. Search for that exact numerical filename on a repository like Civitai. Download the massive file manually through your browser. Place it inside your local models folder securely. Refresh your browser page to restore the broken connection. Do not ask creators to share their model files directly due to complex licensing issues.
Best Practices for Organizing Your Files
As you download and create more pipelines, your computer will become messy. You will quickly accumulate hundreds of random, unorganized JSON files. You must establish a strict file naming convention to stay highly organized.
Never save a file as test1.json or new_workflow.json. These vague names tell you absolutely nothing about the pipeline functionality. Use a highly descriptive naming structure instead. Include the project topic, the base model utilized, and the exact calendar date.
For example, name your file portrait-sdxl-base-20260623-v1.json. This descriptive name helps you find exactly what you need months later. Create a dedicated folder on your desktop exclusively for your exported pipelines.
Adding Clean Documentation Notes
When you want to export and share ComfyUI JSON workflows, you must be polite. Do not send a massive, messy web of tangled wires to your colleagues. Clean up your physical node placement first.
Use the core ComfyUI note node to write a small, helpful text manual. Explain exactly what the custom pipeline does structurally. List the specific checkpoints and LoRA models explicitly required. Leave helpful hints about CFG scale settings and sampling step counts. Good documentation saves everyone massive amounts of troubleshooting time.
Locking Parameters for Exact Reproductions
When you download a graph, you expect it to produce a highly specific visual result. However, the exact reproduction depends on many tiny, hidden variables. The random mathematical seed number is the biggest variable of all.
If the central seed node is set to “randomize”, every generation will look wildly different. When you export a file for bug testing, you must lock the seed. Change the seed behavior dropdown specifically from “randomize” to “fixed”.
This ensures that the recipient generates the exact same image pixels you did. It helps them verify that the complex pipeline is actually working correctly. Furthermore, ensure your sampler names, CFG values, and denoising strengths remain completely static. Perfect reproduction requires absolute mathematical alignment across all parameters.
Modifying Workflows for Different Hardware
When sharing files, remember that physical hardware varies wildly. You might own a massive RTX 4090 graphics card. Your friend might own a budget laptop with a tiny 8GB VRAM buffer.
If you send them a pipeline rendering massive 4K images natively, their computer will crash. The JSON file saves your exact resolution numbers and batch sizes natively. It saves your heavy upscaling parameters and memory allocation variables perfectly.
Before you share a file publicly, optimize the parameters for standard budget hardware. Lower the default image resolution to 1024×1024 temporarily. Reduce the upscale multiplier to a safe 2x mathematical factor. Turn off computationally heavy video rendering nodes entirely. Provide a safe, stable baseline for other users to build upon safely.
By mastering these diverse file formats, you become a true community collaborator. You can back up your precious creative pipelines safely without data loss. You can trade complex routing tricks with professional web designers globally. Enjoy the massive freedom of a truly open-source digital ecosystem today.