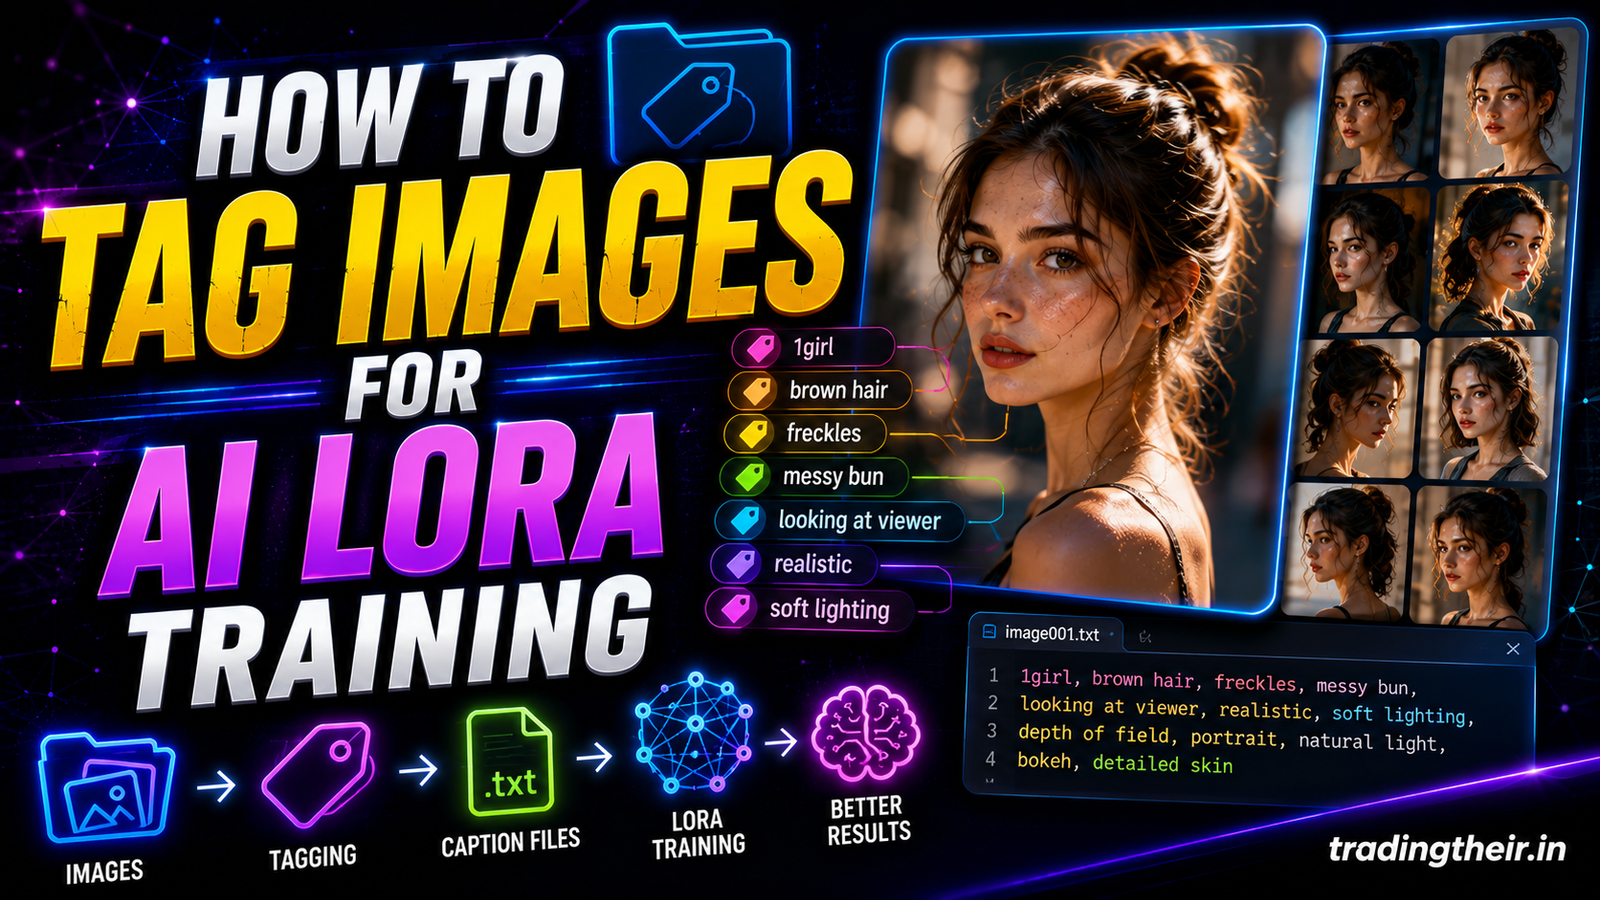
Welcome back to another late-night coding session in Kalibillod. The high-energy Hindi drill rap is looping on your speakers. Your local digital agency is expanding rapidly. We previously curated the absolute perfect dataset for your machine learning projects. We established a bulletproof folder hierarchy for your local scripts. However, your artificial intelligence is currently completely blind. It sees the pixels in your training images, but it does not understand them. It needs a mathematical translator. You must learn how to tag images for AI LoRA training correctly.
Tagging is the critical bridge between human intent and machine mathematics. If you just feed raw images into Kohya SS, the engine panics. It blends the subject, the background, and the lighting into one messy concept. You must guide the neural network using highly specific text files. This comprehensive guide breaks down the exact 2026 captioning protocols. We will explore local auto-taggers, natural language processing, and the crucial concept of tag pruning. Let us optimize your dataset perfectly for your RTX 4050 hardware.
The Core Purpose of Image Captioning
A tag is a simple text label describing visual data. This label lives inside a standard .txt file. This text file sits exactly next to your training image inside your dataset folder. If your image file is named dashboard_001.png, your text file must be named dashboard_001.txt.
During the active training cycle, Kohya SS reads the image pixels mathematically. Simultaneously, it reads your text file. It correlates the visual noise patterns with your specific typed words. If you tag the word “sidebar”, the AI learns exactly what a sidebar looks like. You must be incredibly precise with your descriptive words. Poor tagging destroys model flexibility completely.
If you over-tag an image, the model learns absolutely nothing. It separates every single pixel into tiny, useless concepts. If you under-tag an image, the model becomes horribly overfitted. It bakes the specific background into your core subject permanently. You must find the ultimate golden tagging ratio to succeed.
Choosing Your Unique Trigger Word
Every LoRA dataset requires a unique trigger identifier. This is the activation key for your final trained model. You must choose a rare string of letters for this trigger. Do not use common dictionary words like “website” or “boy”.
If you use common words, you overwrite the base model’s internal brain. The model will forget its original definition of a website. Instead, use highly unique alphanumeric tokens. Use tokens like pradeep_char for a person or flatwebui_style for a UI design. You must place this exact trigger word at the absolute front of every single .txt file in your folder.
When you type this specific token in ComfyUI later, the AI wakes up instantly. It summons the exact mathematical weights you trained locally. It applies your custom aesthetic directly to the generation canvas.
Danbooru Tags vs. Natural Language Captions
In 2026, developers use two primary captioning methods. You must choose your method based on your target base model. The first method uses comma-separated Danbooru tags. The second method uses conversational natural language sentences.
Using Comma-Separated Danbooru Tags
Danbooru tags are strict, comma-separated keywords. A text file might read: flatwebui_style, 1girl, red_shirt, smiling, simple_background. The WD14 Tagger model excels at generating these specific tags automatically. Anime models and legacy Stable Diffusion 1.5 checkpoints absolutely love Danbooru tags. They process these short keywords highly efficiently. If you are training a lightweight SD 1.5 motion module, stick strictly to comma-separated tags.
Using Natural Language Descriptive Sentences
Modern architectures behave completely differently. Massive models like SDXL and Flux prefer natural language heavily. They use powerful internal text encoders like T5 to read conversational English. A natural language text file reads like a book. It says: A flatwebui_style digital mockup showing a young woman wearing a red shirt, smiling against a simple white background. You must use natural language if you want your SDXL LoRA to understand complex prompting later.
Setting Up Local Auto-Taggers in Kohya SS
Writing tags manually for 30 high-resolution images is extremely tedious. You will inevitably make typographical errors. You must automate this repetitive process locally. Do not upload your private training data to cloud servers. Your local RTX 4050 hardware handles image captioning flawlessly.
Open the Kohya SS graphical interface in your web browser. Navigate to the utility tab located at the top of the screen. Click on the sub-menu labeled “Captioning”. You will find the built-in WD14 tagger ready for immediate use.
Select your specific image directory from the file browser. Enter your unique trigger word in the prefix box. The software will automatically append this word to the front of every file. Click the execute button. The software scans every single pixel mathematically. It generates perfect .txt files in a matter of seconds. It completely eliminates manual typing fatigue.
Managing the Confidence Threshold Slider
When you run the WD14 auto-tagger, you must configure the confidence threshold. The AI calculates how confident it feels about a specific visual element. The slider ranges from 0.0 to 1.0.
If you set the threshold too high (around 0.85), the tagger becomes extremely strict. It will only tag elements it recognizes perfectly. It will ignore subtle background details entirely. This leaves your text files painfully empty.
If you set the threshold too low (around 0.15), the tagger panics. It hallucinates bizarre objects that do not exist in your image. It will tag a shadow as a black cat. To learn how to tag images for AI LoRA training properly, use the golden ratio. Set your confidence threshold strictly to 0.35. This specific number captures important details without flooding your files with digital hallucinations.
Capturing Natural Language with Florence 2
If you are training an SDXL model, you need natural language sentences. The WD14 tagger cannot write full sentences. You must use an advanced vision model instead. Florence 2 is the absolute best open-source tool for this specific task.
You can install Florence 2 custom nodes directly inside your ComfyUI workspace. Build a simple batch processing workflow. Route your training images into the Florence 2 vision loader. Instruct the node to output highly detailed, descriptive paragraphs. Route that text output into a file saving node.
The model will analyze your UI mockups brilliantly. It will write detailed sentences about the specific padding, typography, and color gradients. It creates a flawless linguistic map for your SDXL training script.
The Secret Art of Tag Pruning (The Blacklist)
Auto-taggers are brilliant, but they are entirely too literal. They describe absolutely everything they see in the image frame. This creates a massive problem for custom LoRA training. You must understand the concept of tag pruning, often called the blacklist strategy.
Tag pruning is the process of deleting specific words from your auto-generated .txt files. Why would you delete accurate words? Because you want the AI to absorb those specific visual traits directly into your trigger word. The tags you keep remain flexible. The tags you delete become permanent features of your LoRA.
Pruning Strategy for Character Models
Suppose you are training a model of your childhood best friend, Pradeep. Pradeep always wears glasses in his photos. The auto-tagger writes: pradeep_char, black_hair, brown_eyes, glasses, blue_shirt.
If you leave the word “glasses” in the text file, the AI separates the glasses from Pradeep mathematically. It learns that Pradeep and glasses are two entirely different concepts. When you prompt for Pradeep later, he might generate without his glasses. If you want the glasses to be a permanent facial feature, you must delete the word “glasses” from the .txt file. By removing the tag, you force the AI to absorb the glasses directly into the core pradeep_char trigger word.
Pruning Strategy for Web UI Styles
Training a web design style behaves completely differently. You do not care about the specific layout content. You only care about the aesthetic textures, shadows, and colors. You must tag the structural layout elements aggressively.
Tag structural things like sidebar, hero image, navigation menu, pricing table. Do not delete these structural tags. You want the layout to remain highly flexible. However, you must delete stylistic tags. Delete words like flat design, glassmorphism, glowing buttons, or modern aesthetic. Let those stylistic textures absorb directly into your flatwebui_style trigger word. When you generate images later, the AI applies your custom flat style to completely new architectural layouts flawlessly.
Handling Image Backgrounds Properly
Backgrounds ruin more LoRA models than any other visual element. If your training images feature random cluttered backgrounds, you must tag them perfectly.
If an image has a messy office background, tag it as cluttered background, indoor office, desk, window. This tells the AI that the office is not part of your core subject. The AI will discard the office background during the mathematical optimization phase.
If you followed our dataset curation guide, you probably used transparent or solid color backgrounds. You must tag these explicitly as well. Use tags like simple background, pure white background, alpha channel. This ensures your final model knows how to generate clean, isolated assets without hallucinating random trees or buildings behind your UI mockups.
Manual Review and Final Auditing
You cannot trust artificial intelligence tools blindly. You must act as the senior data inspector. You must audit every single .txt file manually before launching Kohya SS.
Open your dataset folder on your primary monitor. Open the text files sequentially using standard Windows Notepad. Verify that your unique trigger word sits at the absolute beginning of every single string. Delete any hallucinated tags immediately. Sometimes the auto-tagger hallucinates watermarks or text labels that do not actually exist on the canvas.
Removing these false tags prevents terrible visual artifacts later. Spend exactly ten minutes reviewing your captions thoroughly. This short manual review saves you hours of frustrating retraining cycles. You can confidently show the pristine training logs to your brothers, Tanmay and Prakhar. They will be amazed by your highly optimized digital pipeline.
Your dataset is now mathematically perfect. The image resolutions are flawless. The text files map the visual noise accurately. You have mastered how to tag images for AI LoRA training completely. You are fully prepared to launch the ultimate local training run on your machine. Start baking those premium digital assets today.