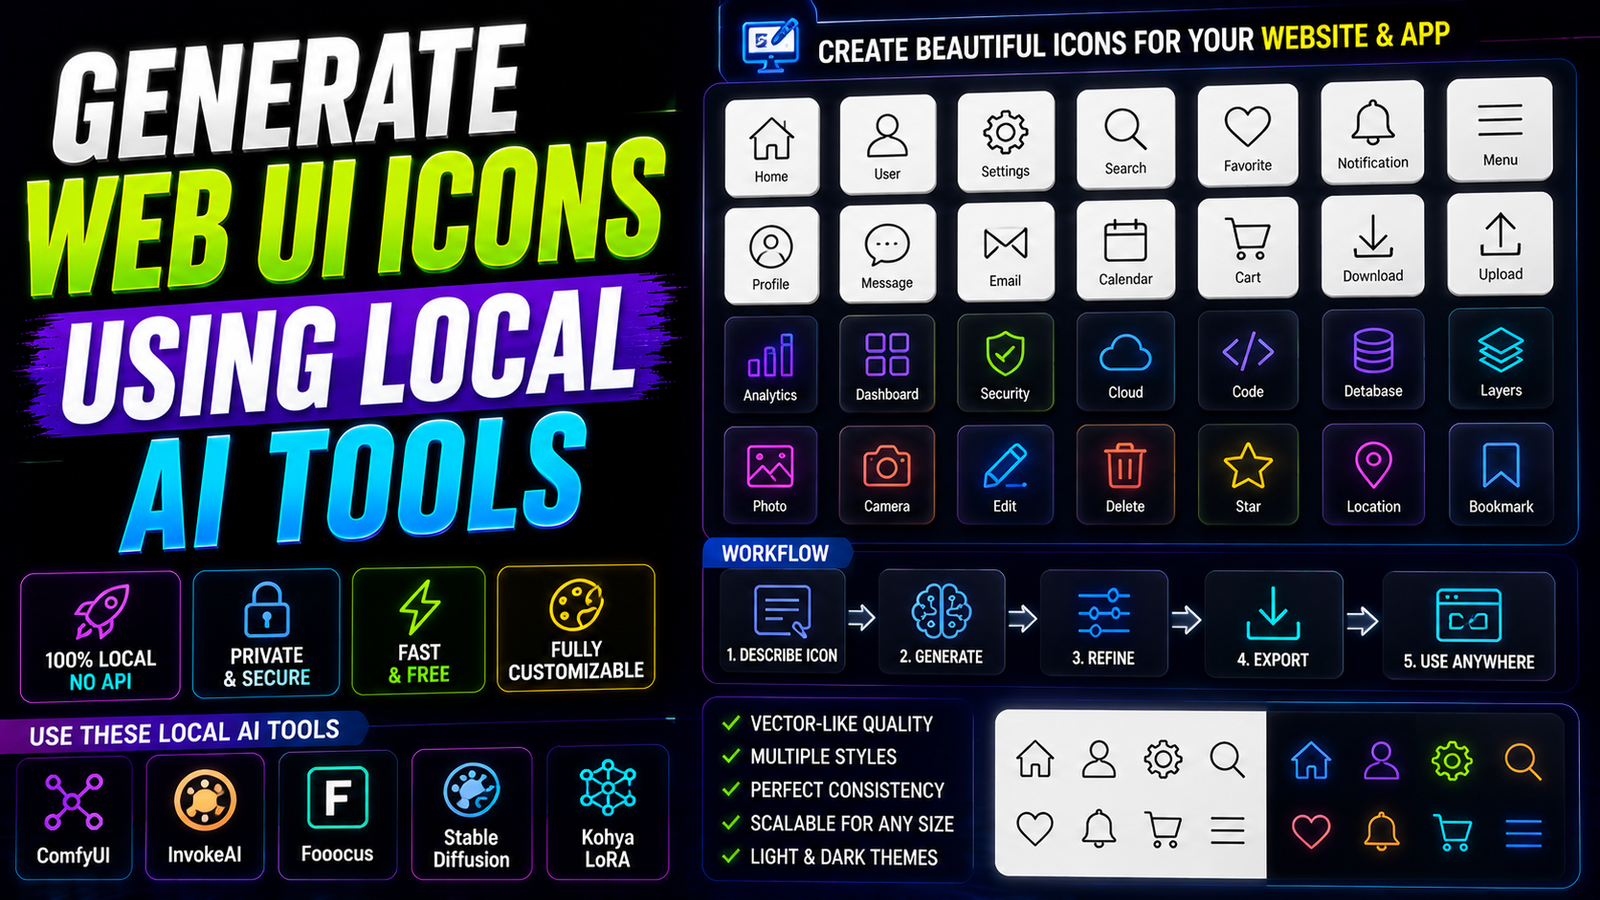
Modern web design requires highly specific and cohesive visual assets. Finding the perfect icon set for a new project is an exhausting task. You browse through endless stock libraries. Most icons look generic and overused. Premium icon sets are incredibly expensive. They demand heavy licensing fees for commercial use. Furthermore, matching a unique client brand aesthetic is deeply frustrating. You often have to compromise on style or color palette. Today, you can generate web UI icons entirely on your local machine. This highly detailed guide shows you how to build a complete, professional asset pipeline.
Using local artificial intelligence tools changes your entire creative design process. You no longer depend on generic stock packs. You create completely unique asset libraries in minutes. This saves you massive amounts of development time. It also completely eliminates recurring subscription costs.
However, generating flat, clean user interface elements requires highly specific configurations. Standard text prompting usually produces noisy, complex images with unwanted shadows. To succeed, you must use precise workflows, specialized models, and background isolation nodes. Let let us explore the ultimate roadmap to local icon design.
Why Stock Icon Libraries Stifle Your Web Creativity
Every professional designer knows the frustration of generic assets. When you use free icon libraries, your website looks identical to thousands of other platforms. Your digital work loses its unique brand identity. Furthermore, free packs often lack highly specific buttons.
You might find a perfect home icon. However, the same pack lacks a specialized cloud upload button. Mixing different icon styles looks incredibly messy and highly amateur. It breaks the visual harmony of your layout instantly. Clients spot these inconsistencies immediately.
To maintain professional standards, you need absolute stylistic continuity. Every vector stroke and corner radius must match perfectly across your entire workspace. Attempting to draw dozens of icons manually in Figma takes days of tedious work. Choosing to generate web UI icons with local AI models provides a brilliant, high-speed solution. You achieve absolute stylistic unity with minimal manual effort.
The Advantage of Processing Icons Offline
Many creators rely on online cloud generators for visual assets. This approach introduces severe long-term disadvantages. Cloud generators operate behind expensive metered paywalls. They charge you a premium fee for every single generation attempt.
Furthermore, cloud systems lack strict privacy protocols. Your unreleased project concepts travel directly to corporate servers. If you handle proprietary designs for enterprise clients, this creates an unacceptable security breach.
Processing your design assets locally removes these operational risks completely. Local generation software runs entirely offline on your personal hardware. The tools are completely free to use forever. Your workspace data remains securely locked inside your solid-state drive. You can generate thousands of icon variations daily without spending a single dime on API fees.
Essential Software Requirements for Icon Workflows
To build a professional asset pipeline, you must prepare your local environment. Avoid basic, unoptimized web generators that lack custom node support. We will utilize ComfyUI because of its exceptional structural control.
Ensure your machine possesses the mandatory core pre-requisites installed. You need Python 3.10.6 configured properly with your system path variables. You also need Git for Windows to manage community extensions cleanly.
Most importantly, you need a capable Nvidia graphics card featuring a healthy Video RAM buffer. An 8GB or 12GB VRAM card is the ideal sweet spot for fast asset iteration. Once your core environment is verified, launch your ComfyUI server. We are ready to install the specialized design extensions.
Downloading Specialized Fine-Tuned Models
Standard artificial intelligence checkpoints are trained on complex photographic datasets. They excel at rendering realistic landscapes, human faces, and deep atmospheric lighting. However, they struggle immensely with flat graphics. If you prompt a base model for an icon, it will add realistic textures and heavy 3D gradients.
These complex elements look terrible on a clean, modern user interface. You need flat, minimalist, and highly contrastive shapes. To achieve this aesthetic, you must download specialized fine-tuned models from the open-source community.
Sourcing Dedicated Line-Art LoRAs
Navigate to popular repository websites like Civitai or HuggingFace. Search specifically for “Web UI Icon LoRA” or “Flat Vector Minimalist Style”. These miniature model files are explicitly trained on clean graphic design assets.
Download the .safetensors file directly to your drive. Place the file inside your ComfyUI\models\loras folder directory. Loading a dedicated icon LoRA modifies your base checkpoint beautifully. It strips away complex shadows and forces the engine to output clean geometric paths.
Selecting the Perfect Base Checkpoint
Your choice of base checkpoint influences your final output resolution. For sharp, modern web graphics, utilize the SDXL base architecture. SDXL handles structural shapes significantly better than older legacy models.
Download the official SDXL base checkpoint file. Place it cleanly inside your models\checkpoints folder. Combining the clean structural math of SDXL with a specialized minimalist LoRA guarantees success. You establish a powerful baseline environment for pristine graphic generation.
Building the Icon Generation Node Workflow
We will now assemble our visual node graph canvas. Right-click on your empty grid workspace. Add the standard Load Checkpoint node and select your SDXL model. Next, place a Load LoRA node onto the canvas.
Route the model and CLIP connection wires directly through the LoRA node. This specific routing applies the flat vector style to your entire network. Now, connect the output lines to your positive and negative CLIP Text Encode prompt boxes.
Configuring the Output Latent Canvas
Add an Empty Latent Image node to determine the initial generation size. Icons do not require massive 4K canvas grids during the text-to-image phase. Generating at excessive sizes wastes valuable VRAM and introduces visual glitches.
Set both the width and height parameters to exactly 512×512 pixels. This square dimension is the absolute perfect optimization ratio for design assets. Connect the latent output wire directly to your central KSampler node to prepare for rendering.
Step-by-Step Prompting Strategy for Flat Assets
Your text prompt mechanics must be incredibly disciplined. To generate web UI icons successfully, you must use highly restrictive language. Avoid descriptive words that imply depth, realistic textures, or complex lighting environments.
Write a precise, highly optimized positive prompt string. Use clear structural keyphrases like:
Plaintext
"minimalist web icon, flat vector style, solid black shape, pure white background, clean geometric lines, simple design asset, high contrast, SVG aesthetic"
Next, state the exact subject you need, such as “a settings cogwheel” or “a shopping cart button”. Keep the subject description extremely simple.
Crafting a Powerful Negative Filter
Your negative prompt box is your ultimate defense against messy visual outputs. You must explicitly forbid the software from rendering artistic complexity. Fill your negative input box with these mandatory filtering terms:
Plaintext
"3D render, realistic shadows, colorful gradients, photorealism, blurry edges, sketchy lines, complex textures, perspective depth, noise, background clutter"
This aggressive negative filtering forces the mathematical sampler to focus exclusively on flat pixels. It guarantees that the engine outputs a solid, high-contrast silhouette against a clean background.
Implementing LayerDiffusion for Instant Transparency
A standard generation run outputs a solid graphic file on a flat white background. To use this icon on a live website, you must remove that white background completely. You need a transparent alpha channel.
Manually masking backgrounds in Photoshop is an agonizing waste of development time. We can fully automate this isolation process using a brilliant extension called LayerDiffusion. LayerDiffusion allows your local AI engine to generate transparent pixels natively inside the latent canvas.
Installing the Transparent Layer Node
Open your ComfyUI Manager tool inside your browser. Search for the “ComfyUI-LayerDiffusion” extension pack. Click install and allow the terminal to download the backend dependencies. Completely restart your server workspace.
This pack introduces the specialized Layered Diffusion Apply node. Place this node directly between your text prompts and your KSampler. Set the generation method configuration to “Generate transparent image (Attention Injection)”.
Outputting Clean PNG Design Assets
The LayerDiffusion node alters the internal math tensors during the generation cycle. It forces the software to completely ignore the background pixels, leaving them entirely transparent.
Route the final output through a standard Save Image node. Your system will now save the generated icon directly as a transparent PNG file. You completely bypass manual masking tasks, creating production-ready web assets instantly.
Vectorizing Your AI Assets for Production
A transparent PNG icon is fantastic for basic mockups. However, professional web development demands vector files. Vector files use mathematical coordinate lines instead of static pixels. They can scale infinitely to any display size without losing sharpness.
You can easily convert your transparent PNG assets into clean SVG vector files locally. Use an open-source command-line tool called Potrace, or use the built-in tracing engine inside Figma or Adobe Illustrator.
The One-Click Tracing Pipeline
Import your high-contrast AI icon directly into your preferred vector software workspace. Select the image and trigger the “Image Trace” tool. Because your local AI generated a highly contrastive, clean silhouette, the vectorizer will map the paths flawlessly.
Set the tracing method configuration to “Silhouettes” or “Black and White Logo”. The software instantly converts the pixel grid into clean mathematical curves. Clean up any loose anchor points, adjust your fill colors, and export the file as a lightweight, optimized SVG asset.
Troubleshooting Common Icon Generation Errors
Running specialized design workflows can occasionally throw unique visual errors. Understanding how to diagnose these quirks saves massive amounts of design iteration time.
Fixing Double Subjects and Ghost Artifacts
If your system generates two separate cogs inside a single canvas, your CFG scale parameter is misconfigured. A high CFG scale forces the model to over-process the prompt variables, causing visual duplication.
To fix this duplication instantly, locate the control sliders on your central KSampler node. Reduce your CFG Scale to a range between 5.0 and 6.5. Additionally, ensure your generation dimensions remain rigidly locked at 512×512 pixels. This combination restrains the model, forcing it to draw a single, bold subject directly in the center of your grid.
Resolving Jagged or Blurry Contour Lines
If your icon shapes look highly distorted or possess fuzzy, jagged edges, your sampler step count is too low. The mathematical noise requires sufficient computational passes to resolve into clean vector lines.
Increase your KSampler steps parameter to exactly 30 or 35 steps. Change your sampler selection dropdown menu to dpmpp_2m and pair it with the karras scheduler. This specific mathematical pairing is exceptionally stable for generating sharp contrastive borders and smooth geometric curves.
Maintaining a Highly Optimized Design Workflow
As your icon development projects scale, you must keep your local digital asset workspace clean. Avoid installing massive, unverified custom nodes that clutter your system pathways. Stick to trusted extensions like LayerDiffusion and ComfyUI Manager to maintain optimal system health.
Always create dedicated, organized subfolders for your custom LoRAs and checkpoints. Keeping your models sorted allows you to swap visual styles instantly when a client requests a major brand pivot.
You now possess a fully optimized, elite local generation pipeline. You can generate web UI icons freely without cloud restrictions, high financial costs, or data privacy concerns. Master this roadmap, and you can build infinite custom asset libraries tailored perfectly to your creative design vision.