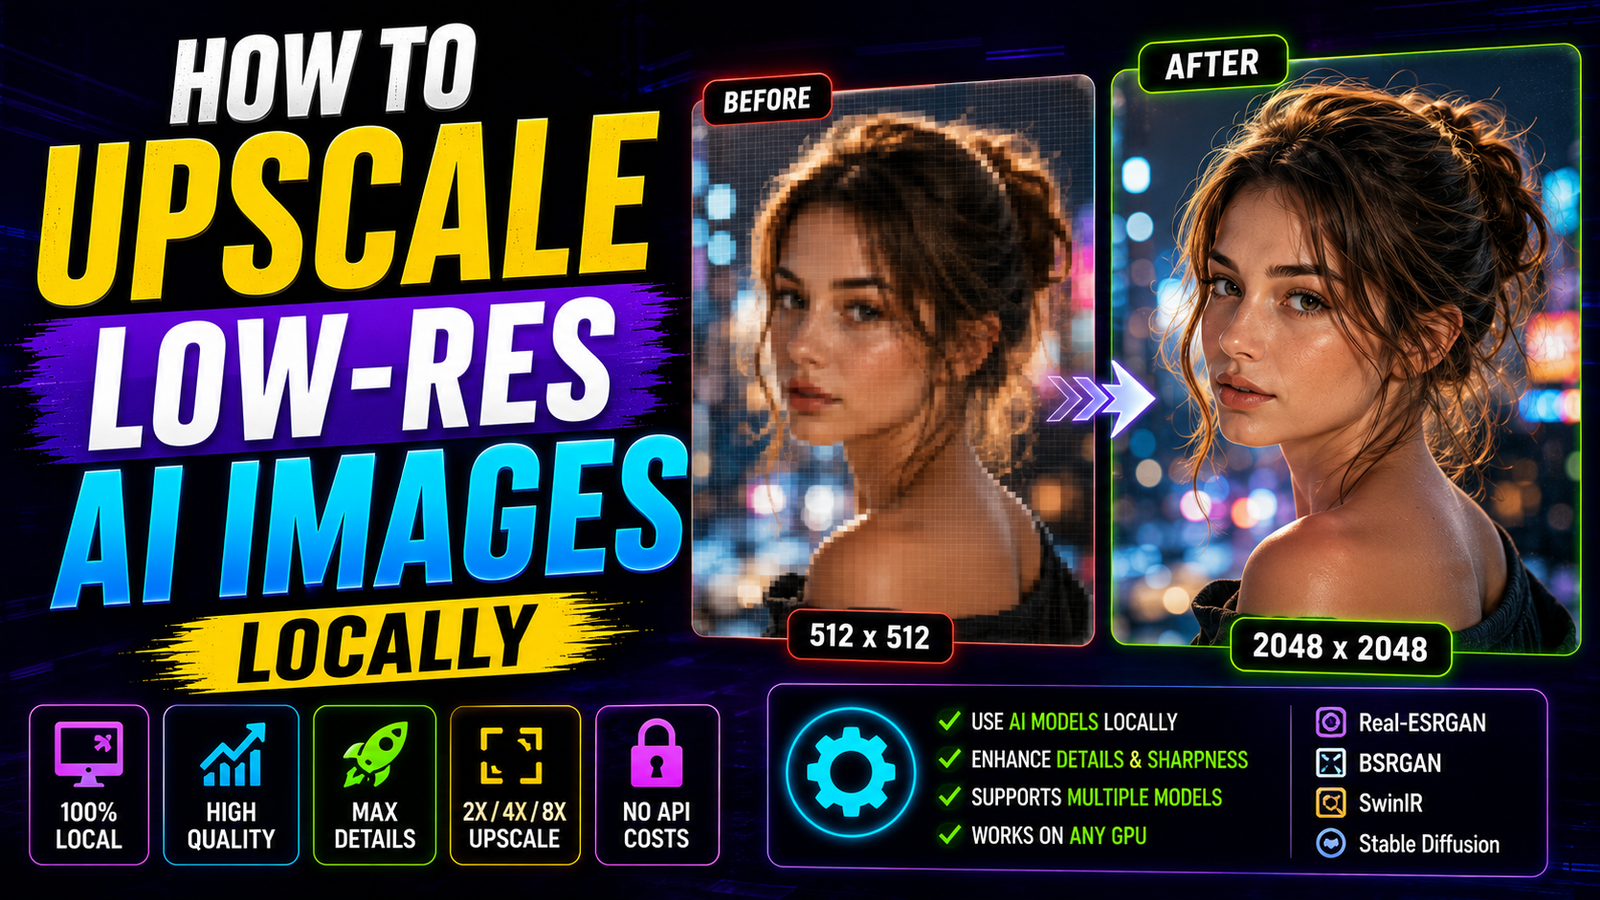
Local artificial intelligence generation requires massive hardware resources. Budget graphics cards possess strict physical memory limits. If you attempt to render a massive 4K image directly, your computer will crash. The terminal will display a fatal out-of-memory error instantly. The software simply cannot handle that many pixels simultaneously. You must generate small, manageable images first. After securing a perfect base composition, you must upscale low-res AI images locally. This step-by-step guide explains the entire process. We will build a highly optimized ComfyUI workflow together.
Upscaling is a mandatory skill for every serious digital artist. You cannot post a 512-pixel image on a professional portfolio. Clients expect high-definition, crisp visual assets. However, naive upscaling ruins fine details. Standard photo editors just stretch the existing pixels. This stretching causes terrible blurriness. Artificial intelligence upscaling reconstructs the missing details mathematically.
This guide explores the best local tools available today. We will avoid expensive cloud subscriptions entirely. You will learn how to enlarge your artwork safely. We will protect your graphics card from memory saturation. Let us dive into the ultimate local upscaling pipeline.
Understanding the Native Resolution Bottleneck
Many beginners try to force high resolutions directly from the text prompt. They type massive dimensions into their empty latent node. This is a terrible technical practice. Standard diffusion models are trained on highly specific, small resolution grids.
Stable Diffusion 1.5 prefers exactly 512×512 pixels. The modern SDXL architecture prefers exactly 1024×1024 pixels. The neural network learns anatomical structures within these strict boundaries. If you exceed these native training limits, the AI hallucinates badly.
It does not know how to fill the extra canvas space. It draws double heads, extra limbs, and broken anatomical structures. The background becomes a distorted, chaotic mess. You must always generate your base composition at these native training sizes. Once you secure a flawless small image, you use a secondary process to enlarge it.
Why You Should upscale low-res AI images locally
You might wonder why you should not just use an online upscaler website. Cloud upscalers are incredibly expensive. They charge you a premium fee for every single image you process. These costs destroy your project budget very quickly.
Furthermore, cloud platforms compromise your client data privacy. When you upload a proprietary design, it leaves your secure hard drive. The hosting company can view, store, and analyze your digital assets.
When you upscale low-res AI images locally, you retain absolute control. The tools are completely free to use forever. They run entirely offline on your personal hardware. Additionally, local tools offer immense creative flexibility. You can choose whether you want faithful pixel restoration or highly creative texture enhancement.
Two Main Upscaling Methods in ComfyUI
ComfyUI offers two distinct mathematical methods for image enlargement. You must understand the fundamental difference between them. Mixing them up is a very common beginner mistake. Using the wrong method will ruin your generation completely.
The Standard Pixel Upscaling Method
This is the fastest and easiest method available. You feed a fully finished image into a dedicated ESRGAN model. The model intelligently reconstructs the detail at a fixed scale. This is usually a 2x or 4x scale multiplier.
Popular community models include Real-ESRGAN and 4x-UltraSharp. This method requires very little Video RAM. It usually consumes under 4GB of memory. It is perfect for fast, everyday upscaling tasks. However, it does not invent brand new details. It merely sharpens the existing visual data.
The Advanced Latent Upscaling Method
This second method is significantly more complex. The nodes operate on the latent tensor data directly. This happens before the image becomes viewable pixels. The image passes back through the main KSampler node.
This approach adds genuine new details to the image. It can invent realistic skin pores, fabric threads, and tiny background elements. However, it requires massive computing power. It can easily crash older graphics cards if you do not optimize your node routing carefully.
Preparing Your Local Workspace Models
Before building our workflow, we must download the correct mathematical weights. The default ComfyUI installation does not include high-end upscaling models. You must source them from the open-source community.
Open your web browser and navigate to the HuggingFace model repository. Search for a file named 4x-UltraSharp.pth. This is universally considered the best general-purpose upscaler. It works flawlessly on both photographs and digital anime art.
Download this file directly to your hard drive. Move the file into your specific ComfyUI\models\upscale_models folder. If you skip this folder placement, the software cannot find the model. Restart your local backend server to register the new file properly.
The Ultimate SD Upscale Node Solution
We want the best of both upscaling worlds. We want the speed of ESRGAN and the detail of latent sampling. To achieve this safely, we use the Ultimate SD Upscale node. This custom node is an absolute masterpiece of software engineering.
It processes your massive image in tiny, overlapping tiles. It does not try to swallow the entire 4K image at once. This tiling technique prevents VRAM memory crashes completely. You can upscale low-res AI images locally on an old 6GB graphics card flawlessly.
Installing the Required Extension
You must install this node using the ComfyUI Manager. Open your manager interface inside your web browser. Click the “Install Custom Nodes” button.
Type “UltimateSDUpscale” into the search bar. Locate the official repository and click install. Wait for the terminal to confirm the download. Restart your entire ComfyUI backend completely. Refresh your web browser page. The new node is now ready to use on your canvas grid.
Building the Hybrid Upscale Workflow
We will now construct the perfect upscaling pipeline. Right-click on your empty canvas. Add the Ultimate SD Upscale node to your workspace. You will notice it has multiple input slots. It requires a model, a prompt, and a base image.
First, connect your main Load Checkpoint node to the model input. Second, connect your positive and negative text prompts. You must describe the image accurately. If the image is a red car, your positive prompt must say “a red car”.
Third, place a Load Upscale Model node onto your grid. Select the 4x-UltraSharp.pth file from its dropdown menu. Connect this upscale model directly into the designated input slot on the Ultimate Upscale node.
Configuring Critical Node Settings
Wiring the nodes together is only the first phase. You must configure the internal settings carefully. Incorrect settings will produce horrific visual artifacts.
Locate the “Target Size Type” dropdown menu. Set this variable to “Scale from image size”. Below this, you will find the actual scale multiplier. Set your Upscale by factor to exactly 2. Do not jump directly to a 4x scale. Doubling the resolution is the safest starting point for budget hardware.
Managing the Tile Size Safely
Next, you must configure the processing tiles. Look for the Tile Width and Tile Height input boxes. Set both of these values to exactly 512.
If you set the tile size too large, your graphics card will crash. A 512-pixel tile is the perfect optimization point. The software will move this tiny box across your image sequentially. It upscales one small square at a time until the entire canvas is finished.
Mastering the Denoise Strength Variable
This is the absolute most critical setting in the entire workflow. The Denoise slider controls how much creative freedom the AI possesses. If you set it incorrectly, you will ruin your original artwork.
If you set the Denoise slider to 1.0, the AI completely ignores your base image. It will draw a completely new, random picture. If you set it to 0.0, the AI does absolutely nothing. The image will remain a blurry, low-resolution mess.
The Golden Range for Upscaling
To safely upscale low-res AI images locally, keep your Denoise strictly between 0.15 and 0.35. A low number like 0.15 preserves your original image perfectly. It simply makes the existing lines sharper and cleaner.
A slightly higher number like 0.30 allows the AI to invent minor textures. It will add realistic grain to leather jackets. It will add sharp reflections to glass windows. Start at 0.20 and run a test generation. Adjust the slider incrementally based on your visual preference.
Troubleshooting Blurry Lines and Visible Seams
Sometimes, tiled upscaling produces frustrating visual glitches. If your final image looks like a stitched quilt, you have a seam problem. You can see visible grid lines cutting across the artwork.
To fix this instantly, look at the “Tile Mode” setting. The default option is usually set to Linear. Switch this dropdown menu to the “Chess” option. This setting changes how the AI overlaps the tiles during the rendering phase. The chess pattern blends the edges much more aggressively, hiding the seams completely.
Adjusting the Seam Fix Parameters
If the chess mode does not fix the lines, you must activate the Seam Fix toggle. Enable the “Seam Fix Mode” option located at the bottom of the node.
This advanced feature runs a secondary processing pass exclusively over the tile borders. It uses extra computational time to blend the pixels flawlessly. You might need to lower your Seam Fix Denoise slightly to prevent blurry artifacts along the edges.
Choosing the Right Upscaler for the Job
The 4x-UltraSharp model is fantastic for general photography. However, it might struggle with specific artistic styles. You should build a small library of different mathematical models for different projects.
If you generate digital anime illustrations, download the 4x-AnimeSharp model instead. It is trained specifically on flat colors and sharp vector lines. If you generate photorealistic landscapes, try the SwinIR_4x model. It handles natural textures like grass and foliage beautifully.
You can swap these models instantly using your Load Upscale Model dropdown menu. Testing different models is the best way to find your perfect aesthetic finish.
You now possess the ultimate professional workflow. You can upscale low-res AI images locally without breaking your budget hardware. You bypass expensive cloud fees and protect your private data entirely. Master these specific node settings, and your digital portfolio will look incredibly crisp and professional.