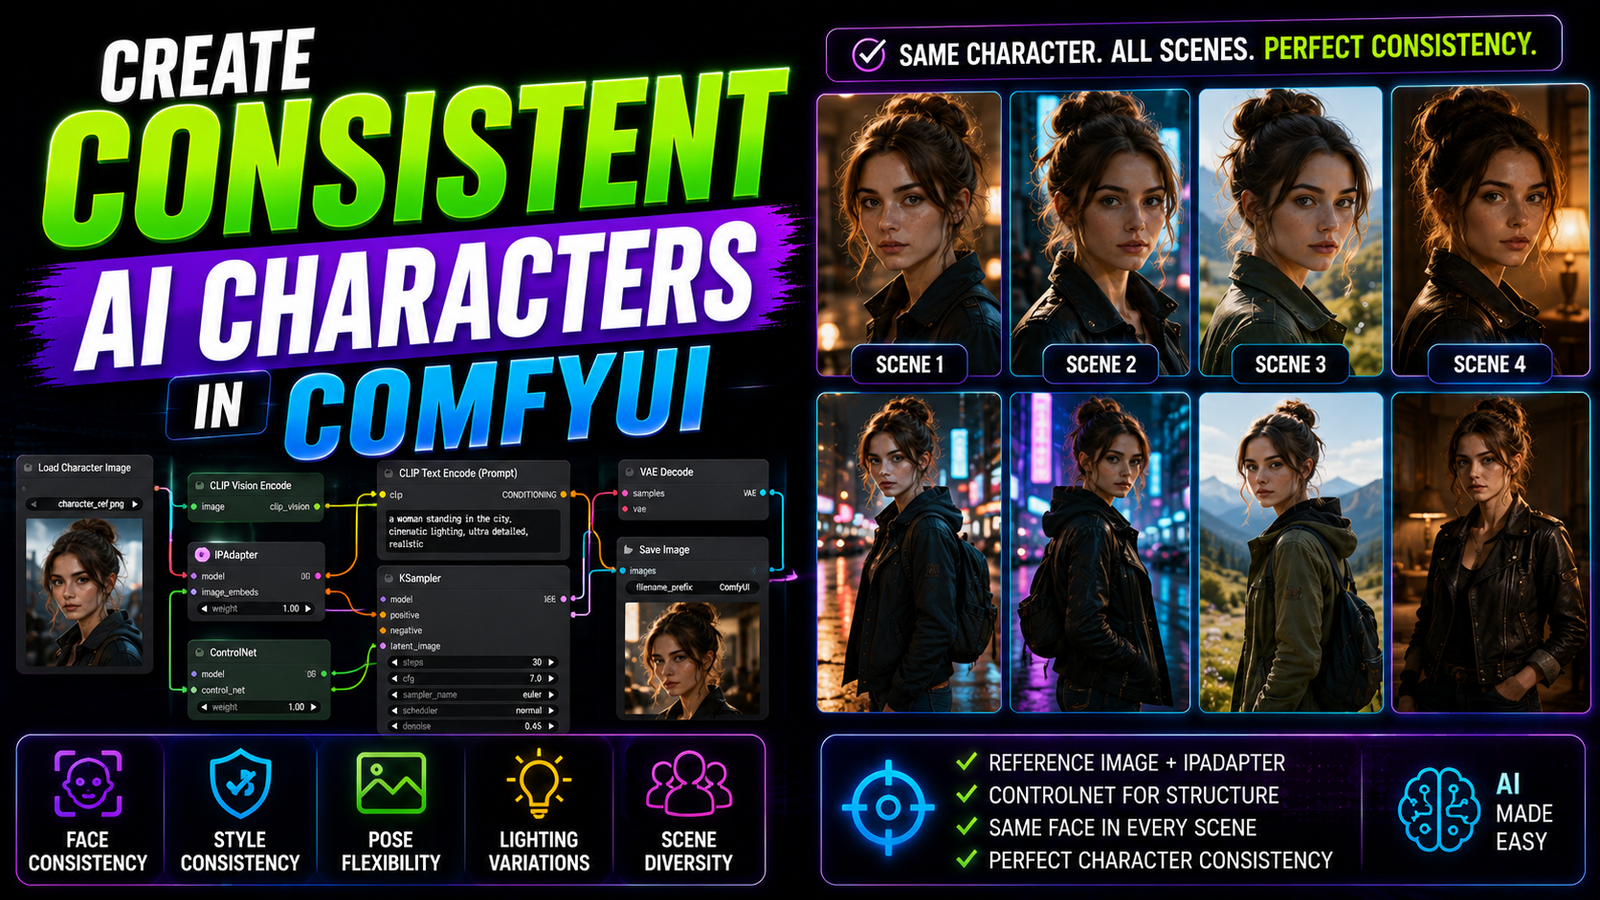
Artificial intelligence generates beautiful and highly detailed single images. However, digital storytelling requires much more than random concept art. Comic book artists and game developers need extreme character continuity. If your main hero’s face changes in every single panel, your project fails. Many beginners struggle endlessly with this exact frustrating problem. They quickly realize that typing the same exact text prompt is completely useless. The diffusion software simply ignores the subtle facial details you want. If you want to Create Consistent AI Characters, you must upgrade your entire workflow. You cannot rely on basic text prompting anymore. You need advanced visual referencing tools inside your local workspace. This comprehensive guide teaches you the exact methods professional artists use today.
Why It Is Hard to Create Consistent AI Characters
To fix this problem, you must understand how diffusion models actually work. These models do not possess a photographic memory. They do not remember the image they generated five minutes ago. Every time you click the queue button, the software starts from pure static noise. It builds the image pixel by pixel based on your text prompt.
Words are highly ambiguous to a mathematical neural network. If you prompt for “a handsome man with brown hair”, the AI has billions of options. It will draw a completely different handsome man every single time.
The Limits of Basic Text Prompting
Many users try to fix this by writing massive, overly detailed prompts. They describe the exact jawline, eye spacing, and cheekbone structure. This approach still fails miserably. The AI simply cannot translate complex anatomical text into exact pixel locations.
Furthermore, using celebrity names in your prompt is a terrible practice. If you blend two famous actors together, the face will warp. It will look slightly different depending on the camera angle requested. When you try to Create Consistent AI Characters using text alone, the engine always guesses the details. You must eliminate this guesswork completely.
Using IP-Adapter to Create Consistent AI Characters
The absolute best solution for character continuity is a custom node called IP-Adapter. IP-Adapter stands for Image Prompt Adapter. It fundamentally changes how your ComfyUI software understands your requests. Instead of reading words, it reads actual pixels.
You feed a reference image of your desired character into the node. The IP-Adapter scans this reference image instantly. It extracts the core visual essence of the face. It reads the exact eye shape, skin tone, and hair texture. It converts these visual details into a mathematical prompt automatically.
Setting Up the IP-Adapter Pipeline
Installing this powerful tool requires the ComfyUI Manager. Open your manager menu and search for the “IPAdapter Plus” extension. Install it and restart your local python server. You must also download the specific IP-Adapter model files from HuggingFace. Place these model files inside your ComfyUI/custom_nodes/IPAdapter-Plus/models folder.
Once installed, drop the IP-Adapter Apply node onto your canvas grid. Connect it directly between your base checkpoint and your KSampler. Feed your reference image into the vision input slot. The AI will now use this picture as its primary structural guide.
Mastering FaceID Models for Absolute Accuracy
Standard IP-Adapter models copy the overall style and color palette of an image. However, we want perfect facial accuracy above everything else. To achieve this, you must use a specialized variant called IP-Adapter FaceID.
This specific variant utilizes a powerful background technology called InsightFace. InsightFace is a highly advanced facial recognition algorithm. It scans your reference image and maps the exact anatomical landmarks of the face. It measures the precise distance between the eyes and the exact curve of the nose.
Installing InsightFace Python Dependencies
Running the FaceID model requires a complex backend python library. Installing InsightFace on Windows can sometimes cause frustrating compiler errors. You must ensure you have the Visual Studio C++ Build Tools installed first.
Open your ComfyUI portable folder and open a new terminal window. Run the command pip install insightface. If the automated installation fails, you must download a pre-compiled wheel file from GitHub. Once installed correctly, the FaceID node will lock onto your character’s face perfectly. It ignores the background and focuses entirely on the facial anatomy.
Combining Text and Image Prompts Effectively
Using an image adapter does not mean you abandon text prompts entirely. The absolute best workflows balance visual references with strong text instructions. Your IP-Adapter node handles the exact facial structure flawlessly. Your text prompt handles the clothing, lighting, and environmental background.
If you leave your text prompt empty, the image adapter will struggle. It will try to copy the background of your original reference photo. You must guide the software away from the original context. Write a prompt describing a completely new scene and outfit.
Adjusting the Image Injection Weights
The IP-Adapter node features a critical setting called the “Weight” slider. This slider determines how strongly the software copies the reference image. If you set the weight to 1.0, the AI copies the image aggressively. The final output might look stiff, unnatural, or over-baked.
To successfully Create Consistent AI Characters, you must find the perfect balance. Set your adapter weight between 0.5 and 0.7 for optimal results. This specific range forces the AI to keep the face accurate. However, it gives the text prompt enough freedom to change the character’s expression and lighting dynamically.
How LoRAs Help Create Consistent AI Characters
Sometimes, an image adapter is simply not powerful enough for your project. If your character has highly unique tattoos, custom sci-fi armor, or specific scars, IP-Adapter might miss them. For absolute, uncompromising perfection, you must train a custom LoRA model.
A LoRA is a tiny, highly compressed neural network file. You train this file on a specific dataset of your chosen character. This process permanently burns the character’s exact visual identity into the mathematical weights. It is the most robust method available for professional continuity.
Preparing Your LoRA Training Dataset
Training a flawless model requires a flawless image dataset. Do not use random, low-quality images from the internet. You must curate a collection of 15 to 25 high-resolution images of your subject.
Ensure these images showcase the character from multiple different camera angles. Include extreme close-ups, medium shots, and full-body wide shots. Make sure the lighting changes drastically between the different photos. If every photo has identical lighting, your final model will be inflexible. It will fail to render shadows correctly in new environments.
Implementing ControlNet for Exact Posing
Character consistency is not just about the face. A character’s body language and physical posture are equally important for storytelling. If your character’s proportions change drastically in every image, the continuity breaks. You must control the physical skeleton of your generation.
ControlNet is a massive suite of custom nodes designed for structural control. It forces the AI to follow a specific visual guide before generating pixels. The most useful ControlNet model for character continuity is called OpenPose. OpenPose extracts a colorful stick-figure skeleton from any reference image you provide.
Using OpenPose for Structural Continuity
To use this feature, install the Advanced ControlNet extension via the manager. Download the specific OpenPose model files into your models/controlnet folder.
Place the Apply ControlNet node onto your canvas grid. Load an image of a person standing in your desired pose. Pass this image through the OpenPose preprocessor node. The node converts the photograph into a simple skeletal framework. The AI will perfectly match this exact pose while drawing your custom character’s face.
Building the Ultimate Master Workflow
Professional AI artists do not rely on just one single tool. You can easily Create Consistent AI Characters by combining all these powerful techniques together. You must build a unified master workflow on your ComfyUI grid.
Load your custom character LoRA directly into your base checkpoint. Next, route your generation through an IP-Adapter FaceID node for extra facial reinforcement. Finally, plug a ControlNet OpenPose node into your conditioning line to control the body posture.
Managing High VRAM Consumption
Running all these advanced nodes simultaneously demands massive hardware resources. Your graphics card must load the base model, the LoRA, the IP-Adapter, and the ControlNet models all at once. This massive workload can easily saturate an 8GB budget graphics card.
To prevent fatal system crashes, you must optimize your node settings. Use highly compressed FP8 checkpoints to save baseline VRAM space. Ensure your ComfyUI startup script includes memory management flags like --lowvram. Generate your images at a safe, low resolution first. You can always upscale the perfect generation later using a dedicated latent upscale node.
Master the tools required to Create Consistent AI Characters today. By combining IP-Adapter, precise ControlNet routing, and custom LoRA training, you achieve total creative dominance. You will never have to settle for random, mismatched faces in your digital art projects again.